So for a while now the Miata's roof has been intermittently reluctant to go up. Obviously that's a problem, but I've been putting off dealing with it for a while since it didn't happen very often, and when it did happen it was always possible to get it going again just by reaching back and lifting the front of the roof the first half-inch or so before hitting the button again.
About two weeks ago, it stopped working completely. It would go down, but getting it back up took ages of fucking around before it would cooperate. This is pretty annoying to debug: usually, PRHT issues are caused by the deck motors or their limit switches misbehaving, but I could tell the deck was working fine. The specific failure mode I was seeing is that the deck would come up as normal, the left-hand corner of the roof would start to move, and the right-hand corner would stay in place until the roof controller noticed the issue and threw a fault.
That's interesting in that it narrows the issue down, but it also means I'm outside the range of "common" PRHT issues already. These things are actually pretty bomb-proof (as hardtop convertible mechanisms go); it's all motor-actuated, so there's no place for hydraulic issues like you get on a Z4, and a clever arrangement of linkages means that the whole thing is driven by two "deck" motors that lift the panel covering the roof storage area and two "roof" motors that do the work of stowing or deploying the roof itself. As I said, the vast majority of issues come from the deck lid failing to extend properly, or the roof controller failing to confirm that the deck lid extended properly, and the car never gets to the point of commanding motion on the roof motors in the first place.
In my case, though, the left-hand roof motor was turning. That means the controller is correctly detecting that the deck lid is on its limit switches, and so one of four issues are possible:
- The right-hand roof motor is not being commanded to turn.
- The right-hand roof motor is being commanded to turn, but does not.
- The right-hand roof linkages are stuck.
- One or both encoders on the roof motors are faulty.
We can narrow these down further with a bit of deduction. If the motor wasn't receiving an electrical signal, it wouldn't ever work, and while intermittent electrical failures are certainly possible, it would be odd that manually actuating the roof would do anything about one. Similarly, correct roof operation still being possible makes it unlikely that the linkages are stuck (although it's possible a gummed-up linkage could make it harder to start the motor), and if the encoder wasn't working at all it shouldn't be possible to put the roof down either. These encoders are Hall effect sensors coupled to a magnet on the motor shaft, so it's not like they'll get dead spots or something.
So that leaves "the motor is powered and not turning" as our likely culprit. This could be a broken wire or a corroded connector at the motor side, but the intermittent operation says the most likely cause of that is a dodgy commutator. Permanent magnet DC motors like this one can suffer from issues where they get a dead spot on the commutator, and then the motor can't start from certain rotor positions but will run fine.
And, of course, that means we get to do the silliest possible test to see whether that's the case: hit it with a hammer.
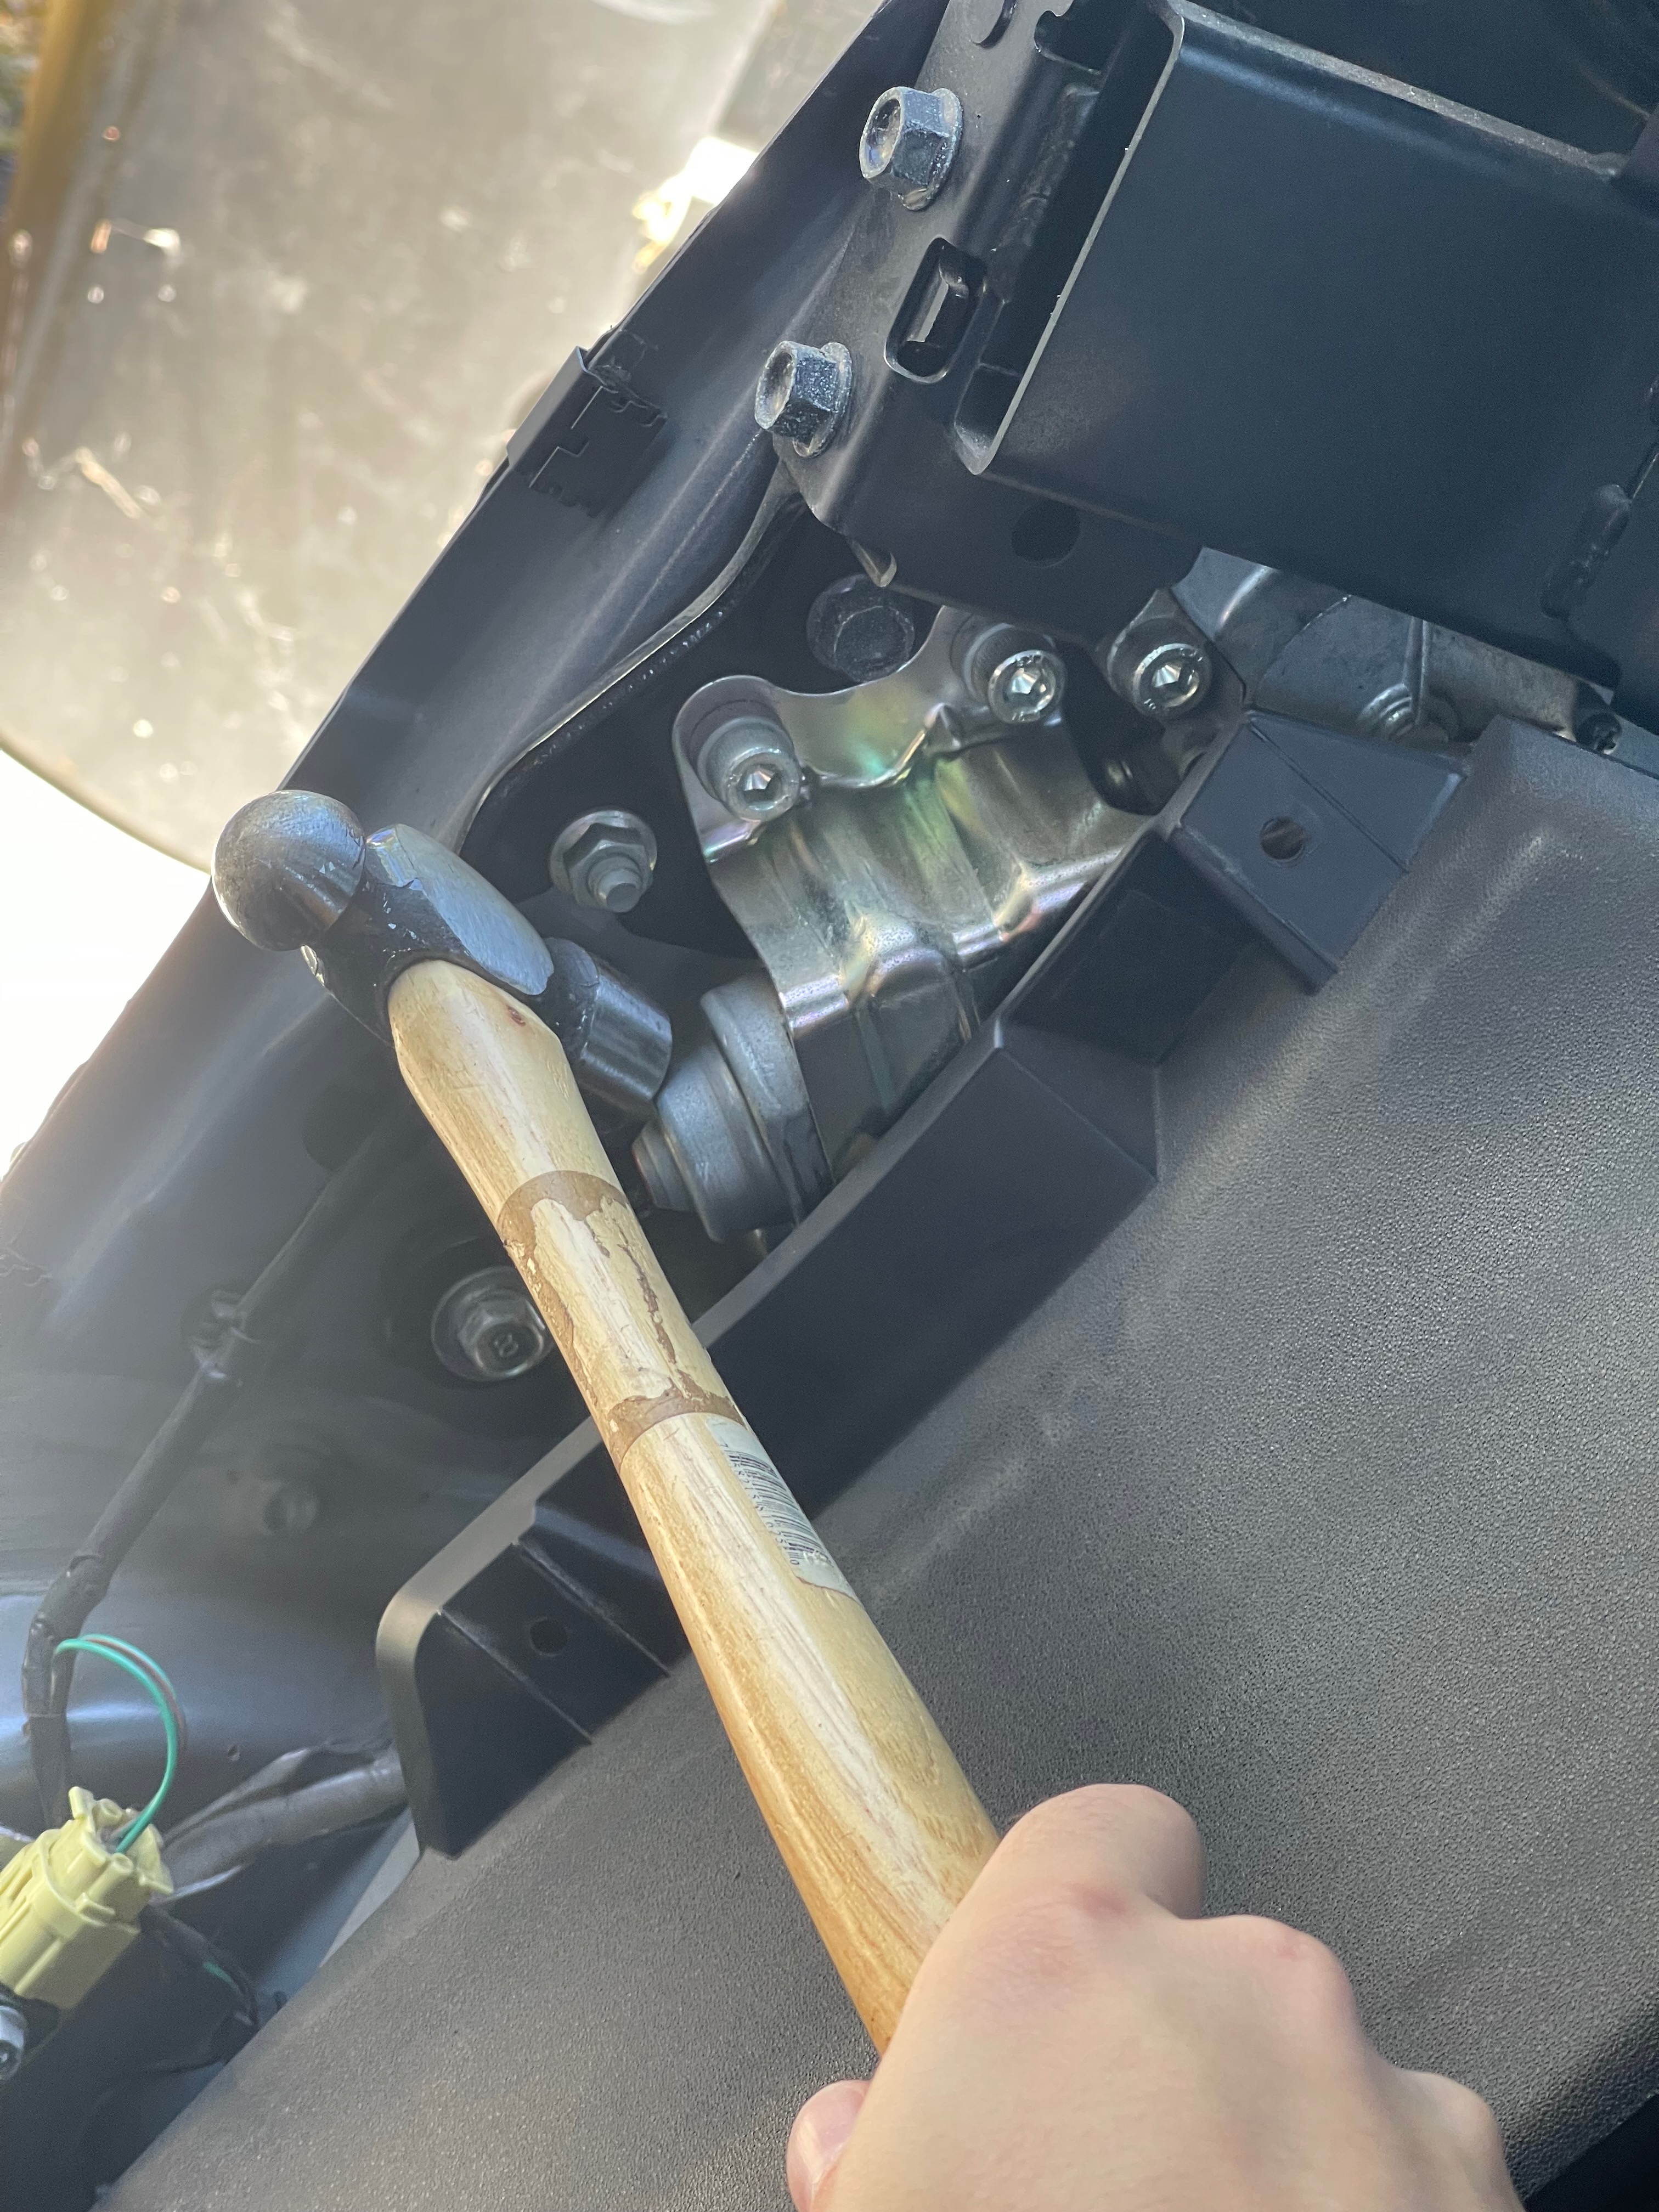
Readers, I have never had a more obvious test result in my life. I put the roof down, verified that it didn't want to go back up, gave the motor one smack with this small ball-peen hammer, and it fired right up. Mechanical shock can jostle the motor into a more favorable position or knock debris around in the commutator, and it sure did here.
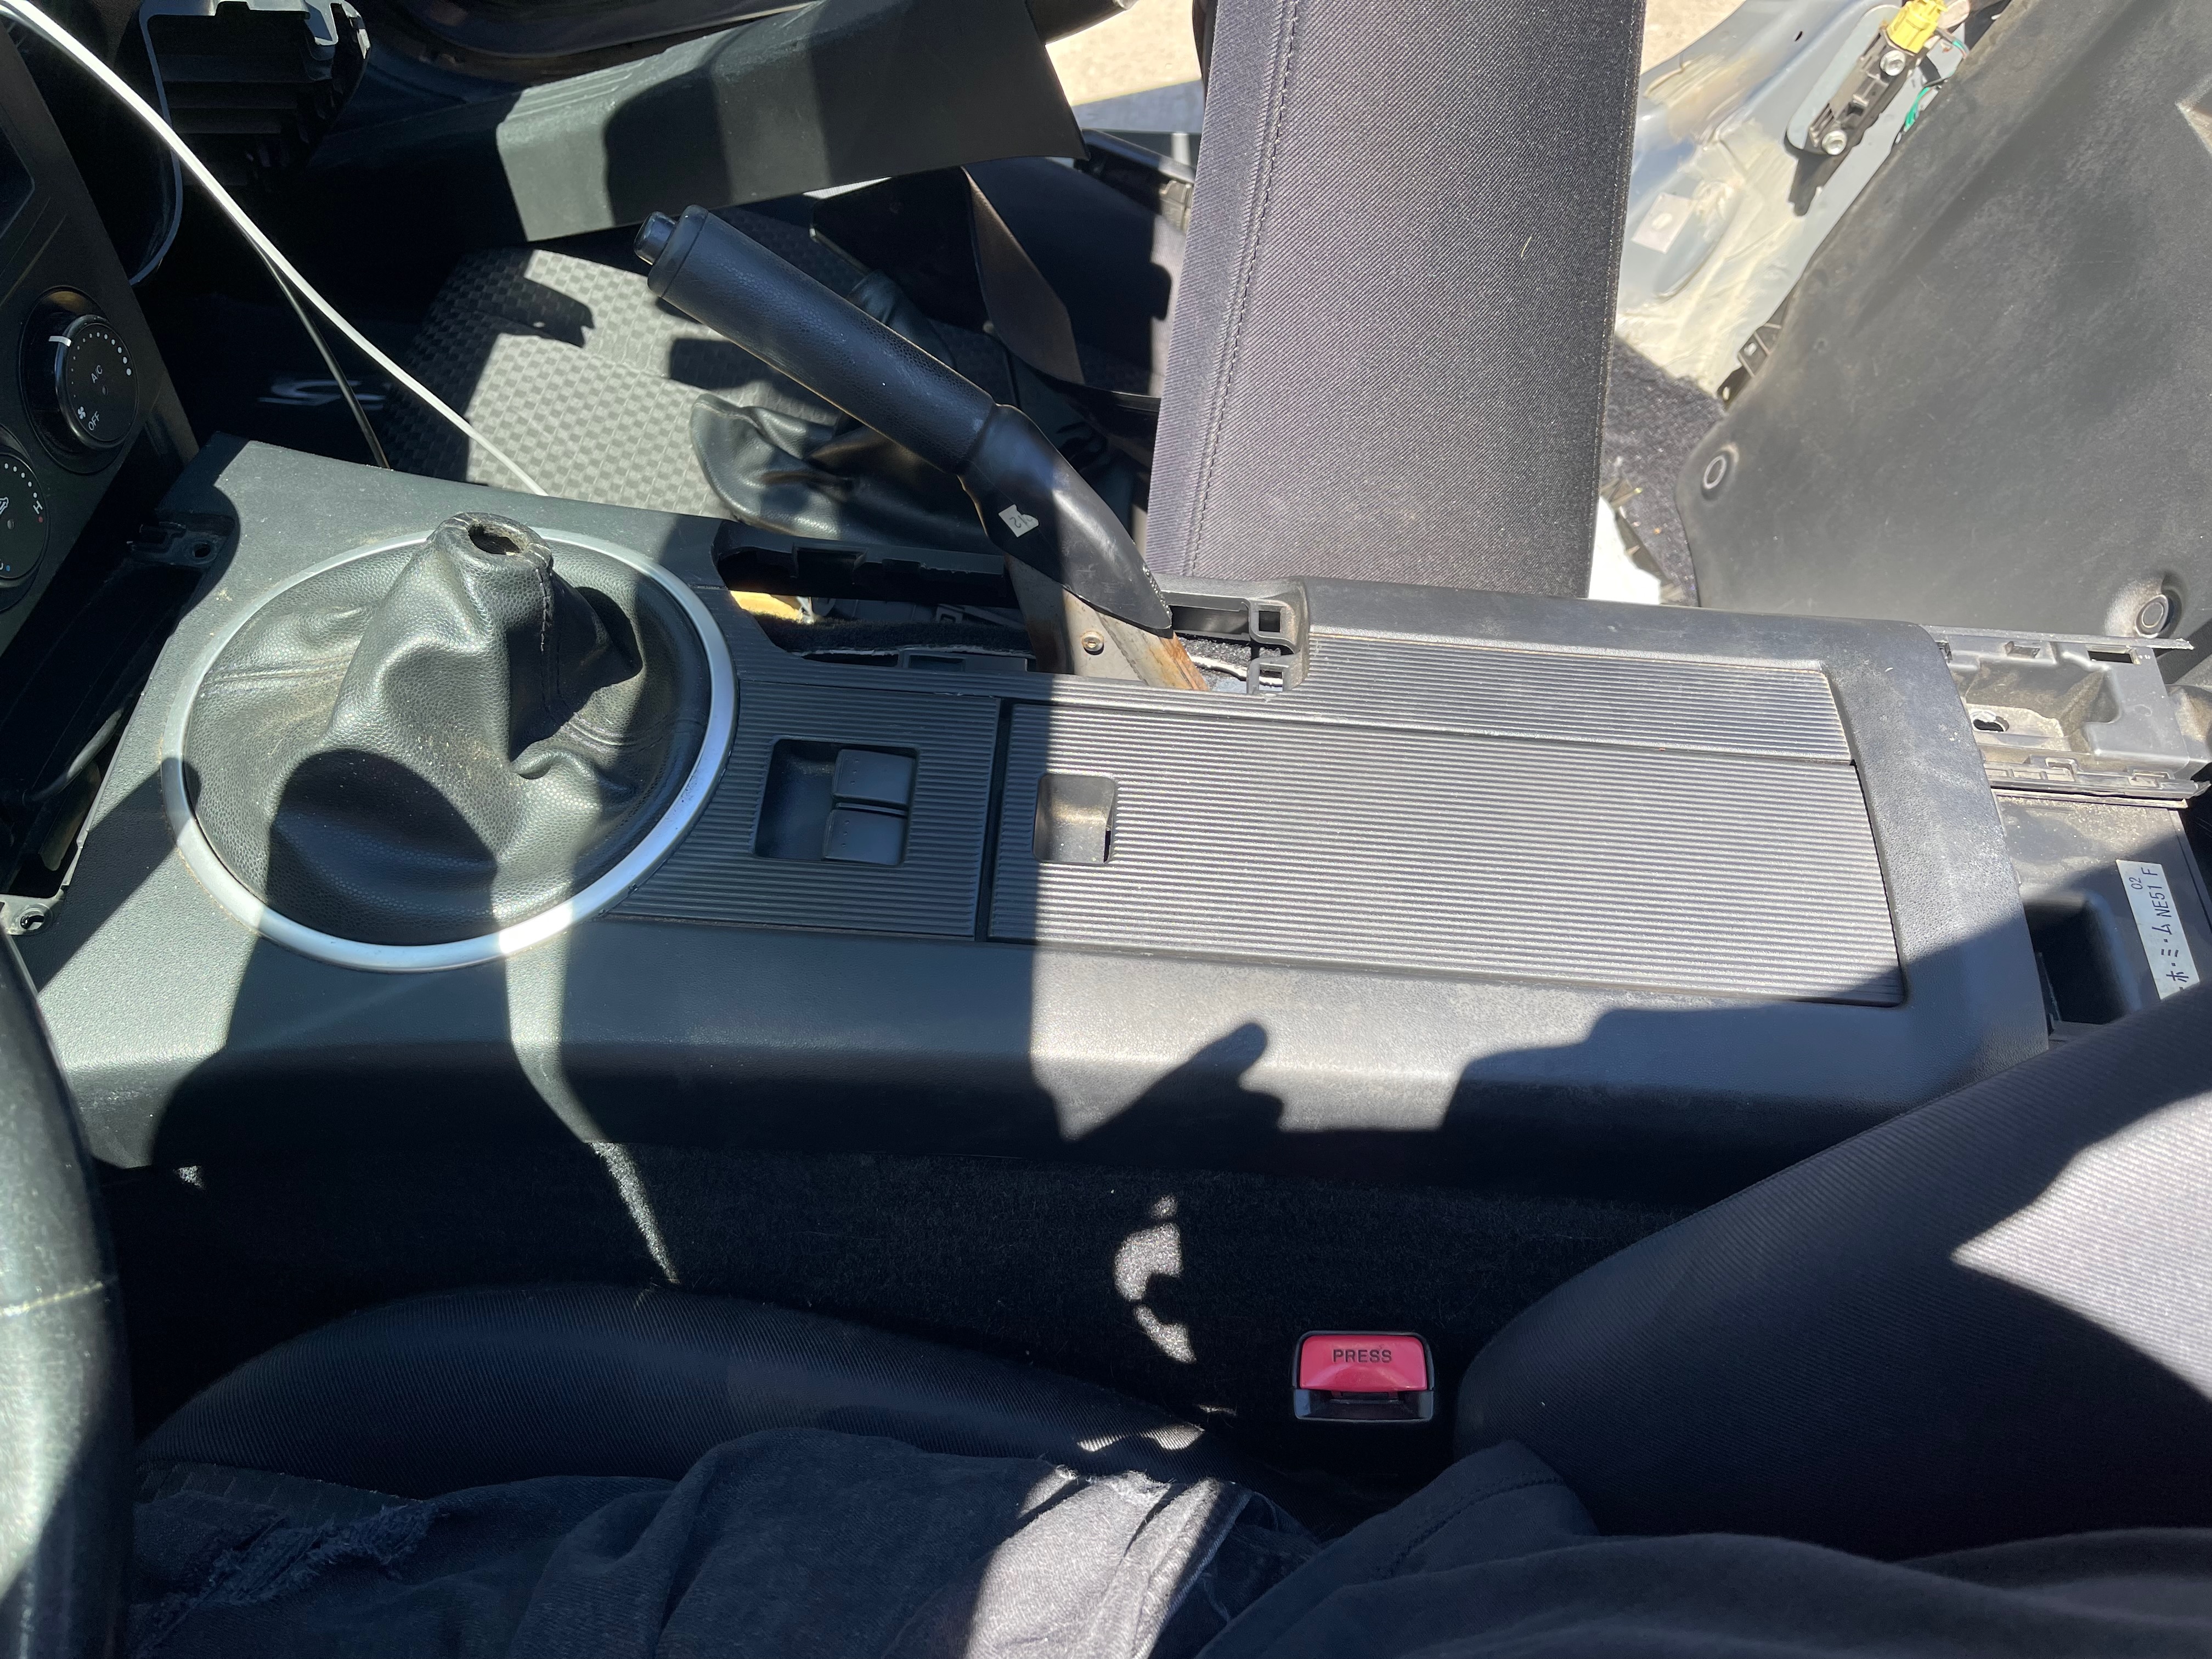
This isn't a real fix, though, so I figured the next thing I ought to do is take the motor apart on the bench and try to clean it up. I don't want to have to be riding around with the PRHT Motor Reset Device (tm) in the trunk in case I need it. Unfortunately, taking the roof motors out sucks pretty bad. The first thing we'll have to do is unscrew the center console and move it an inch forward:
Then, we can take out 11 different pieces of trim including the big plastic back panel:
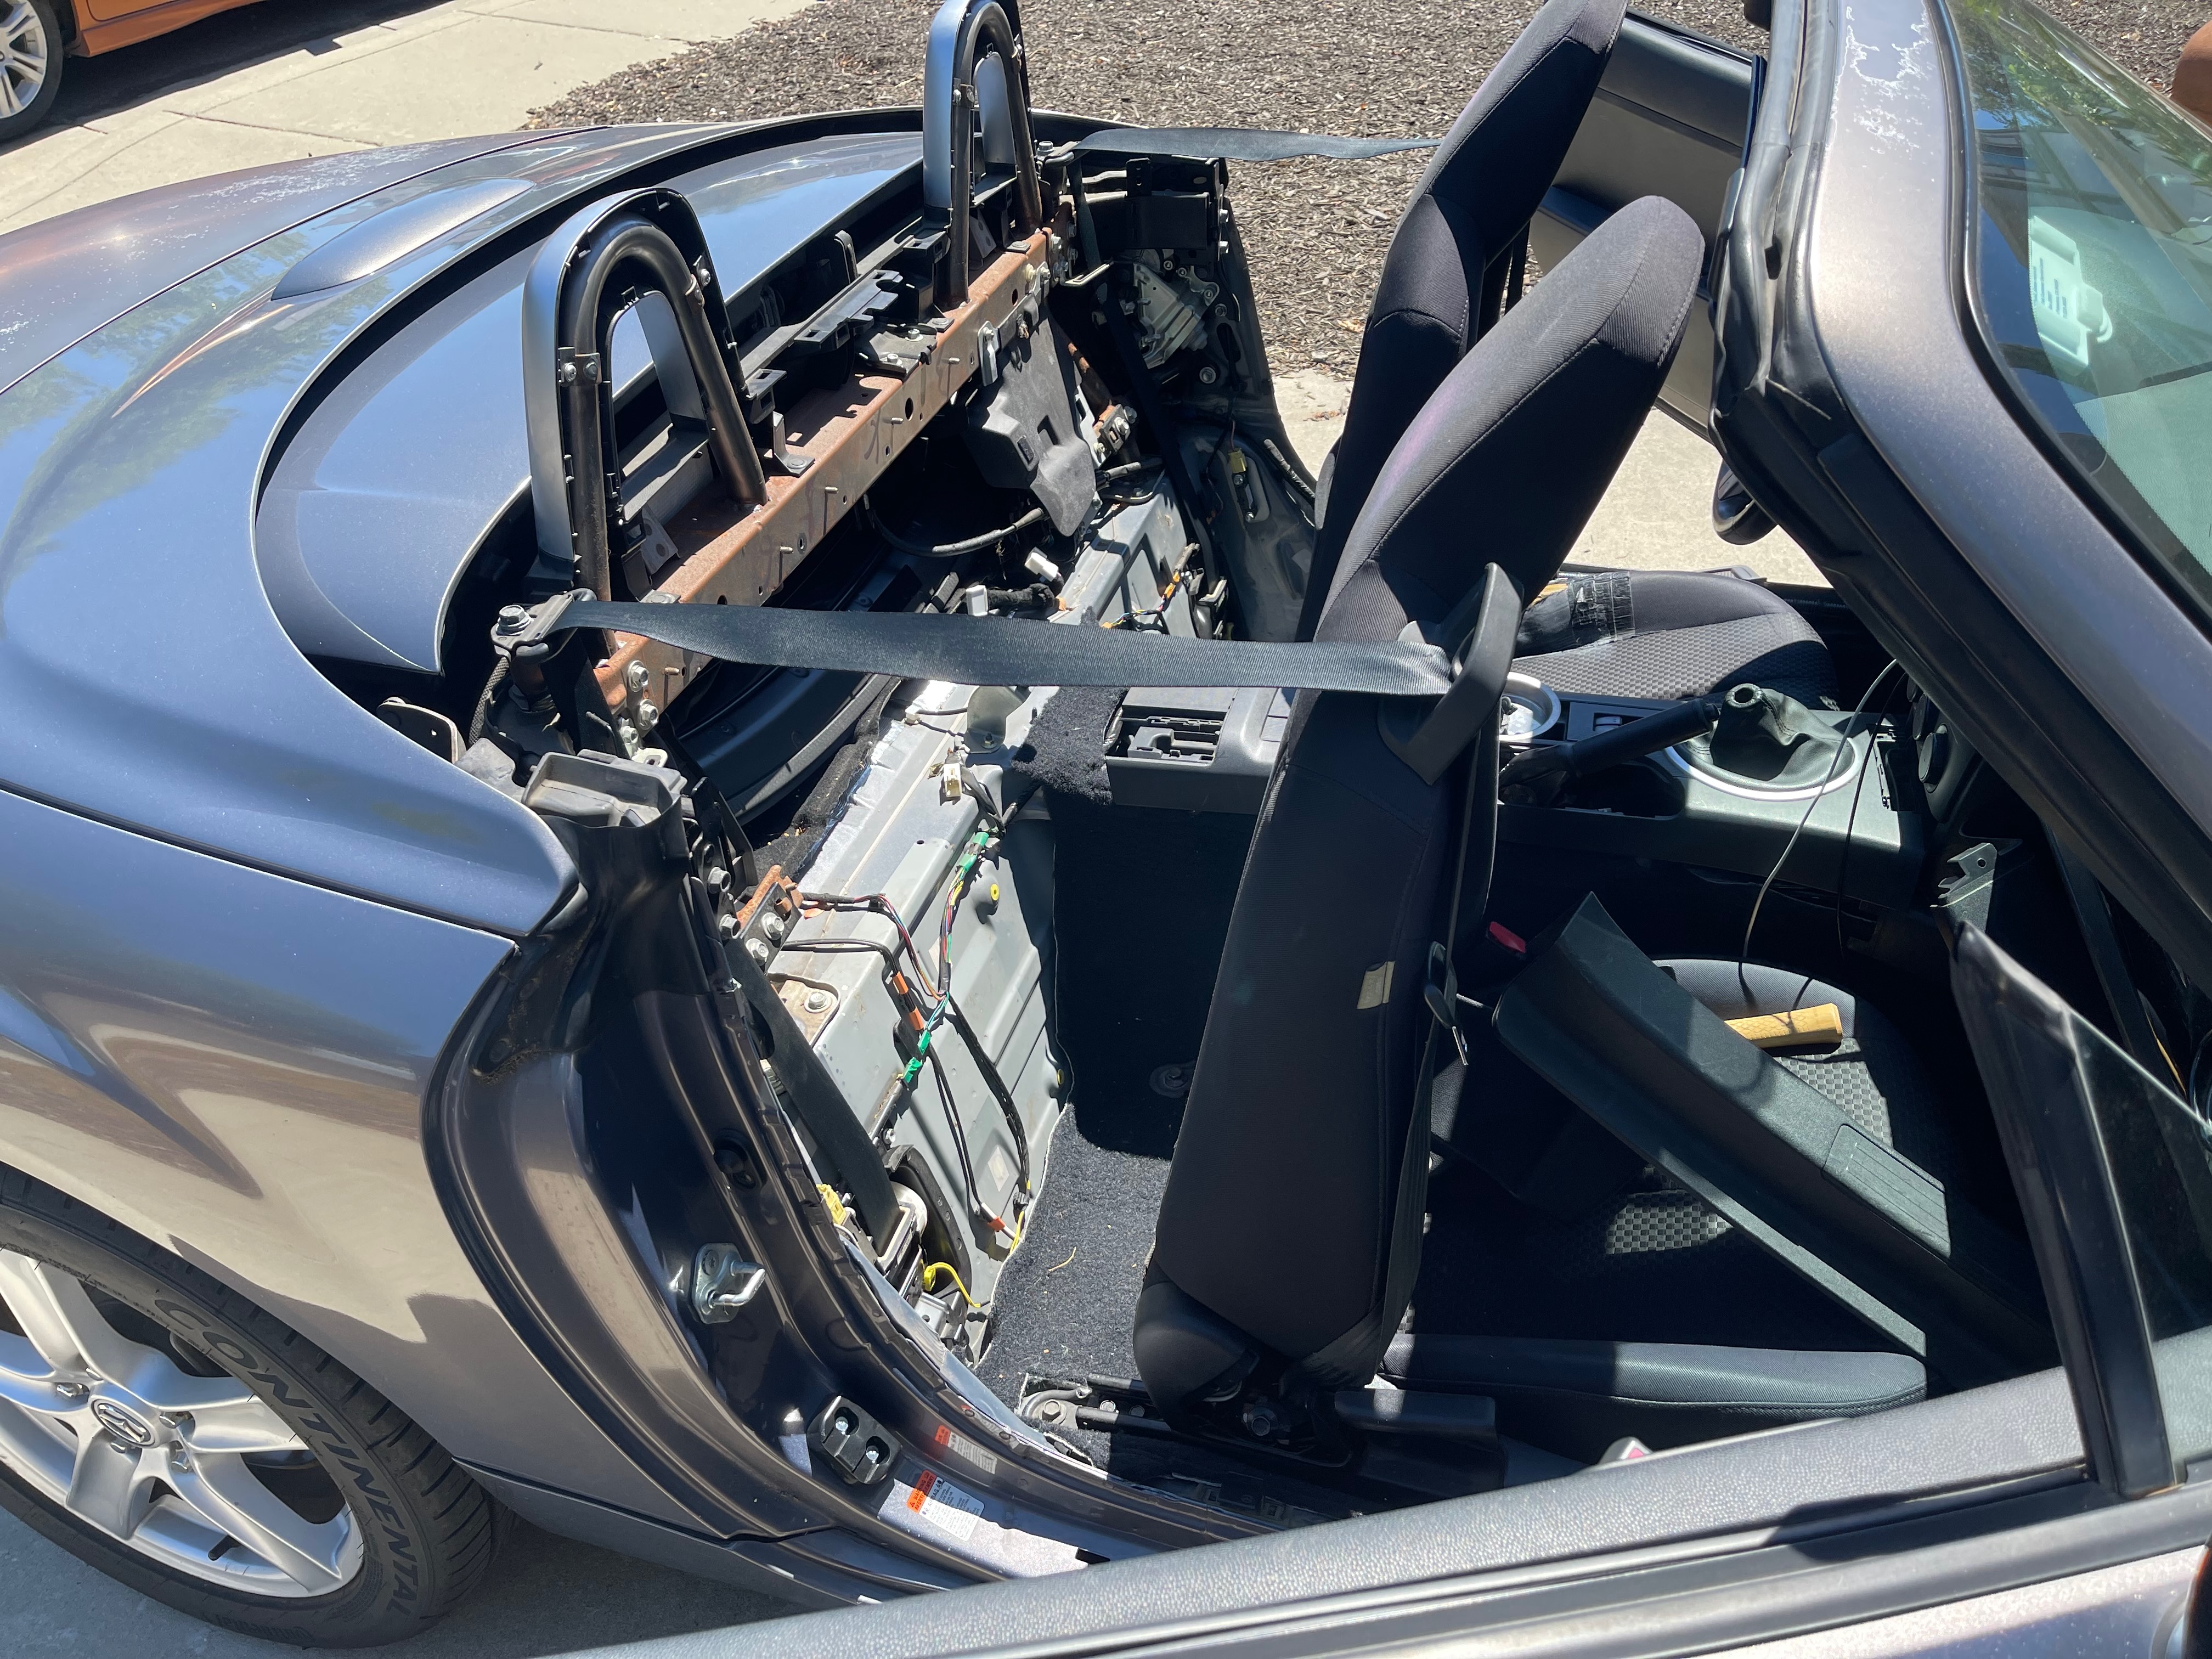
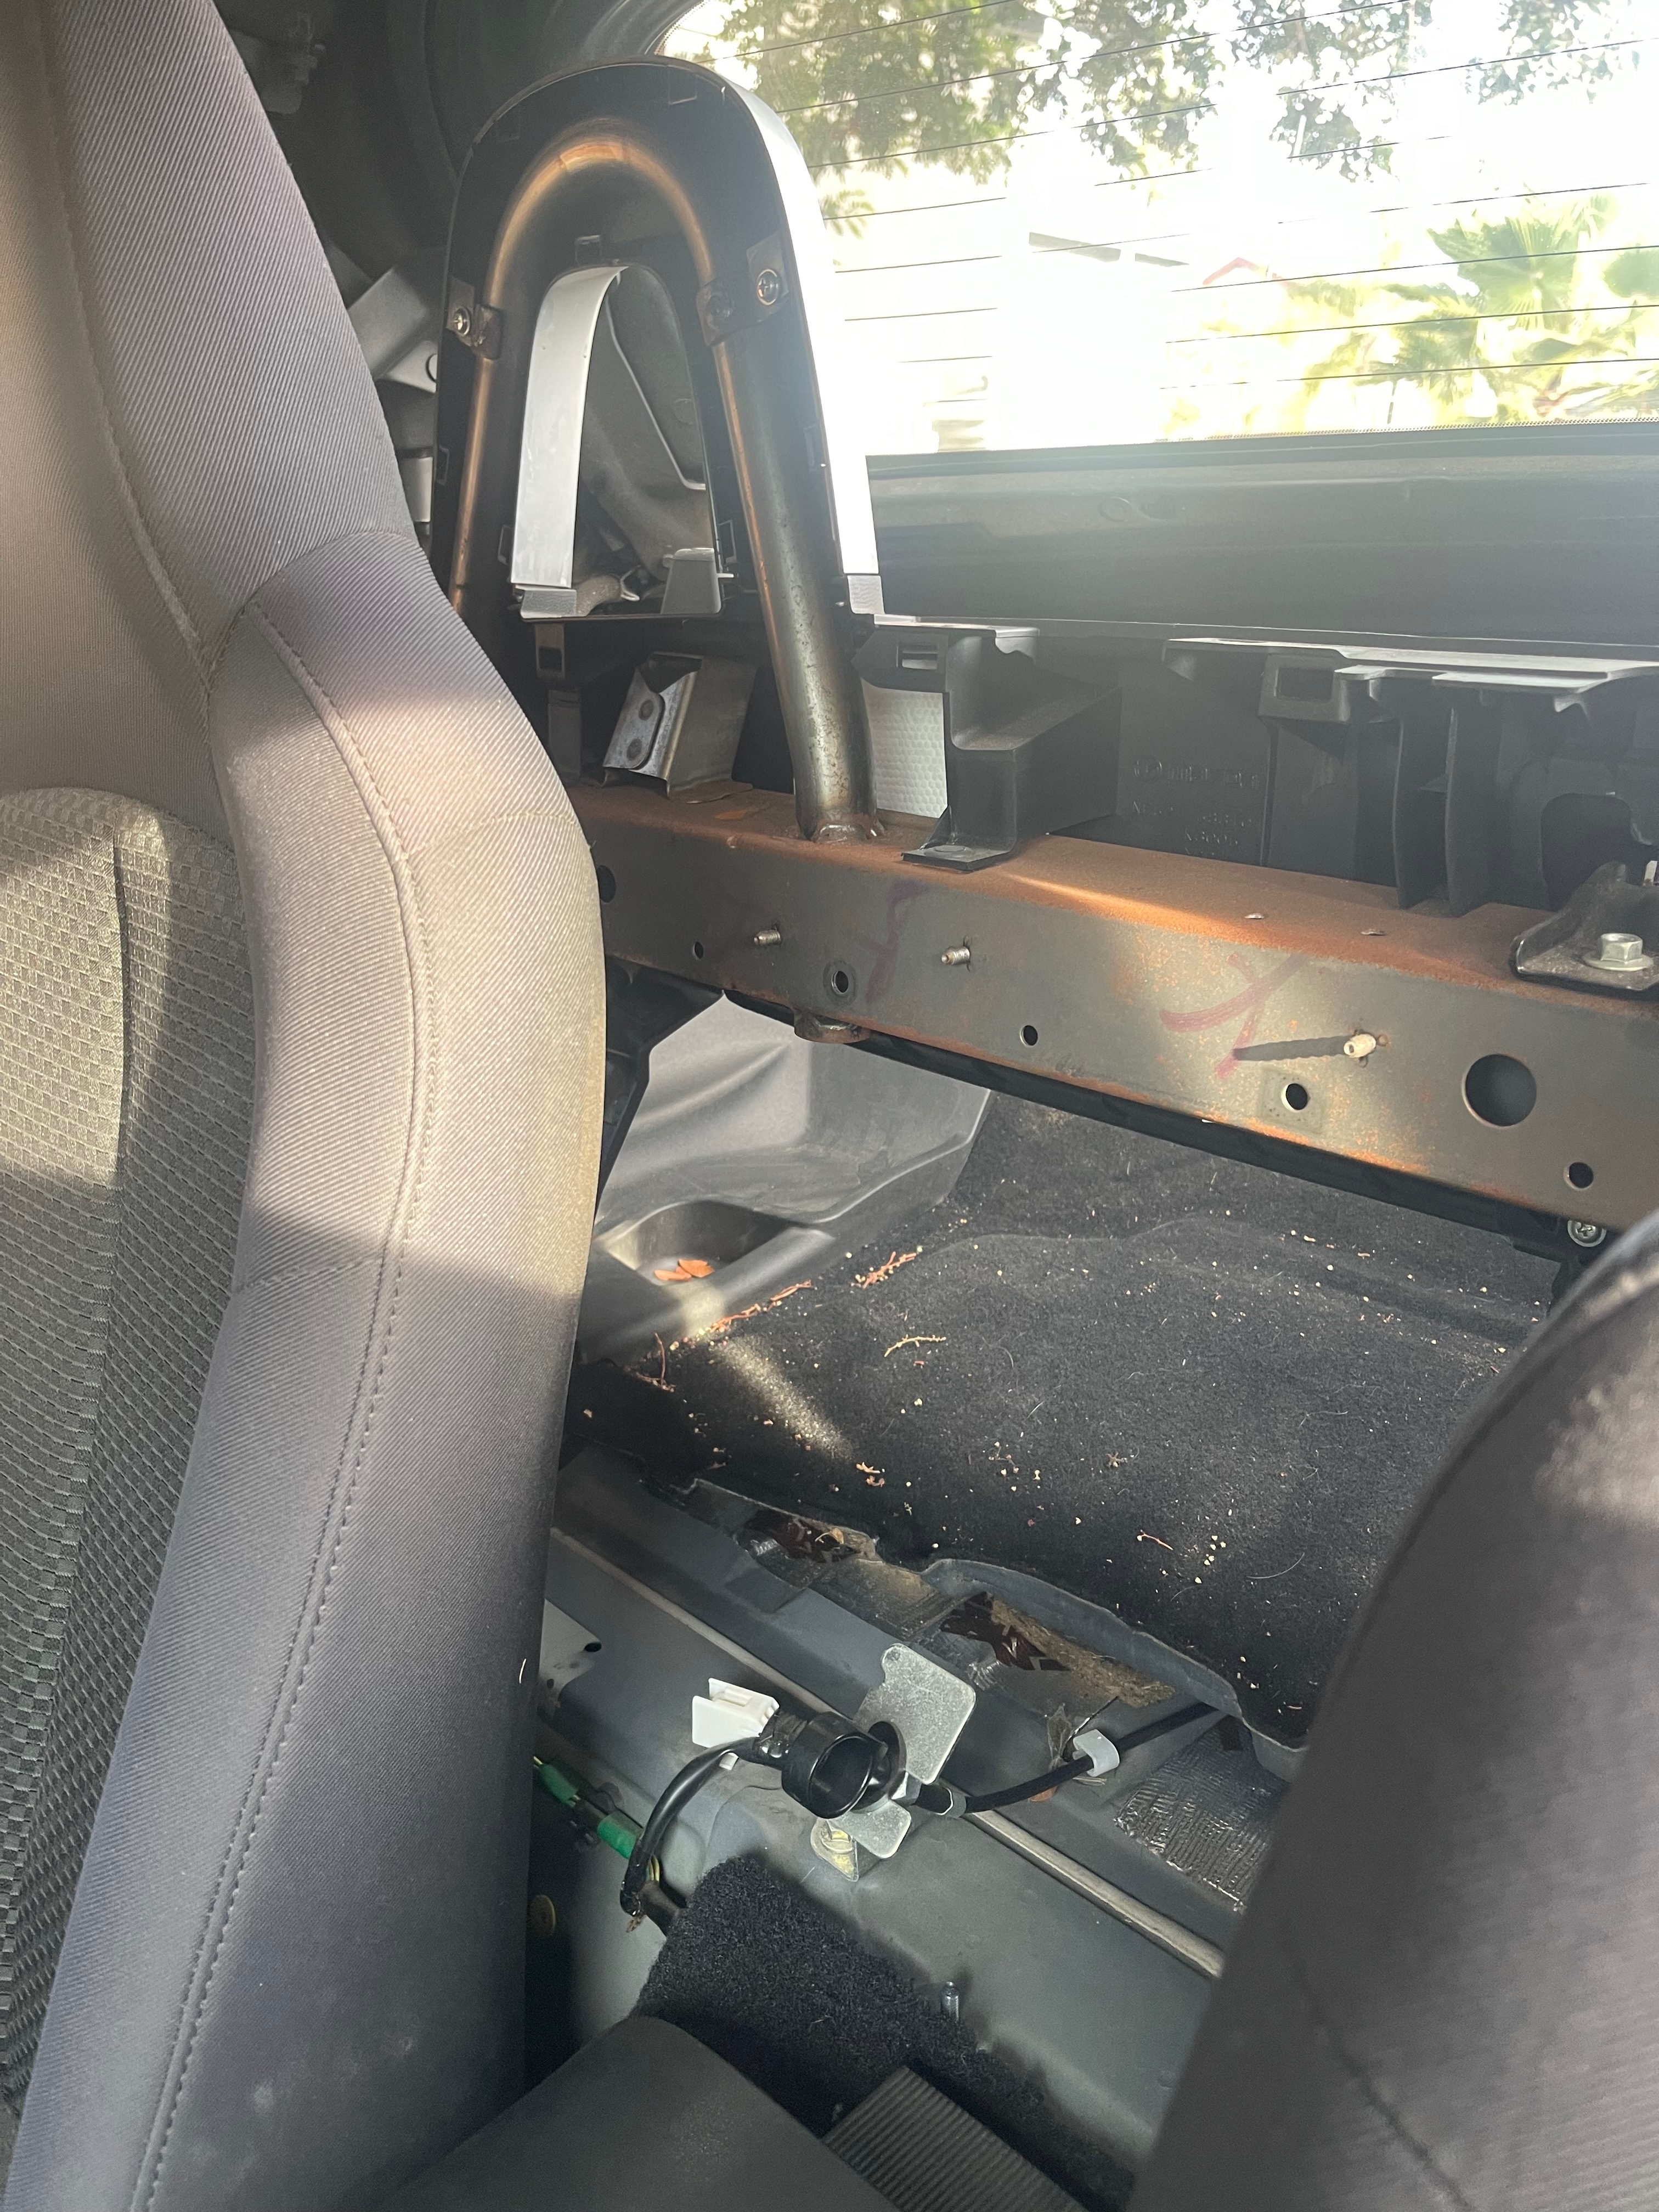
Now we have access to this black bracket that blocks access to the motor. The manual calls it the "PRHT link bracket", which is strange to me because none of the PRHT parts connect to it; instead, it connects the seat back crossmember to the side of the car and provides support for the upper seat belt anchor. Presumably soft-top cars have that too? I dunno.
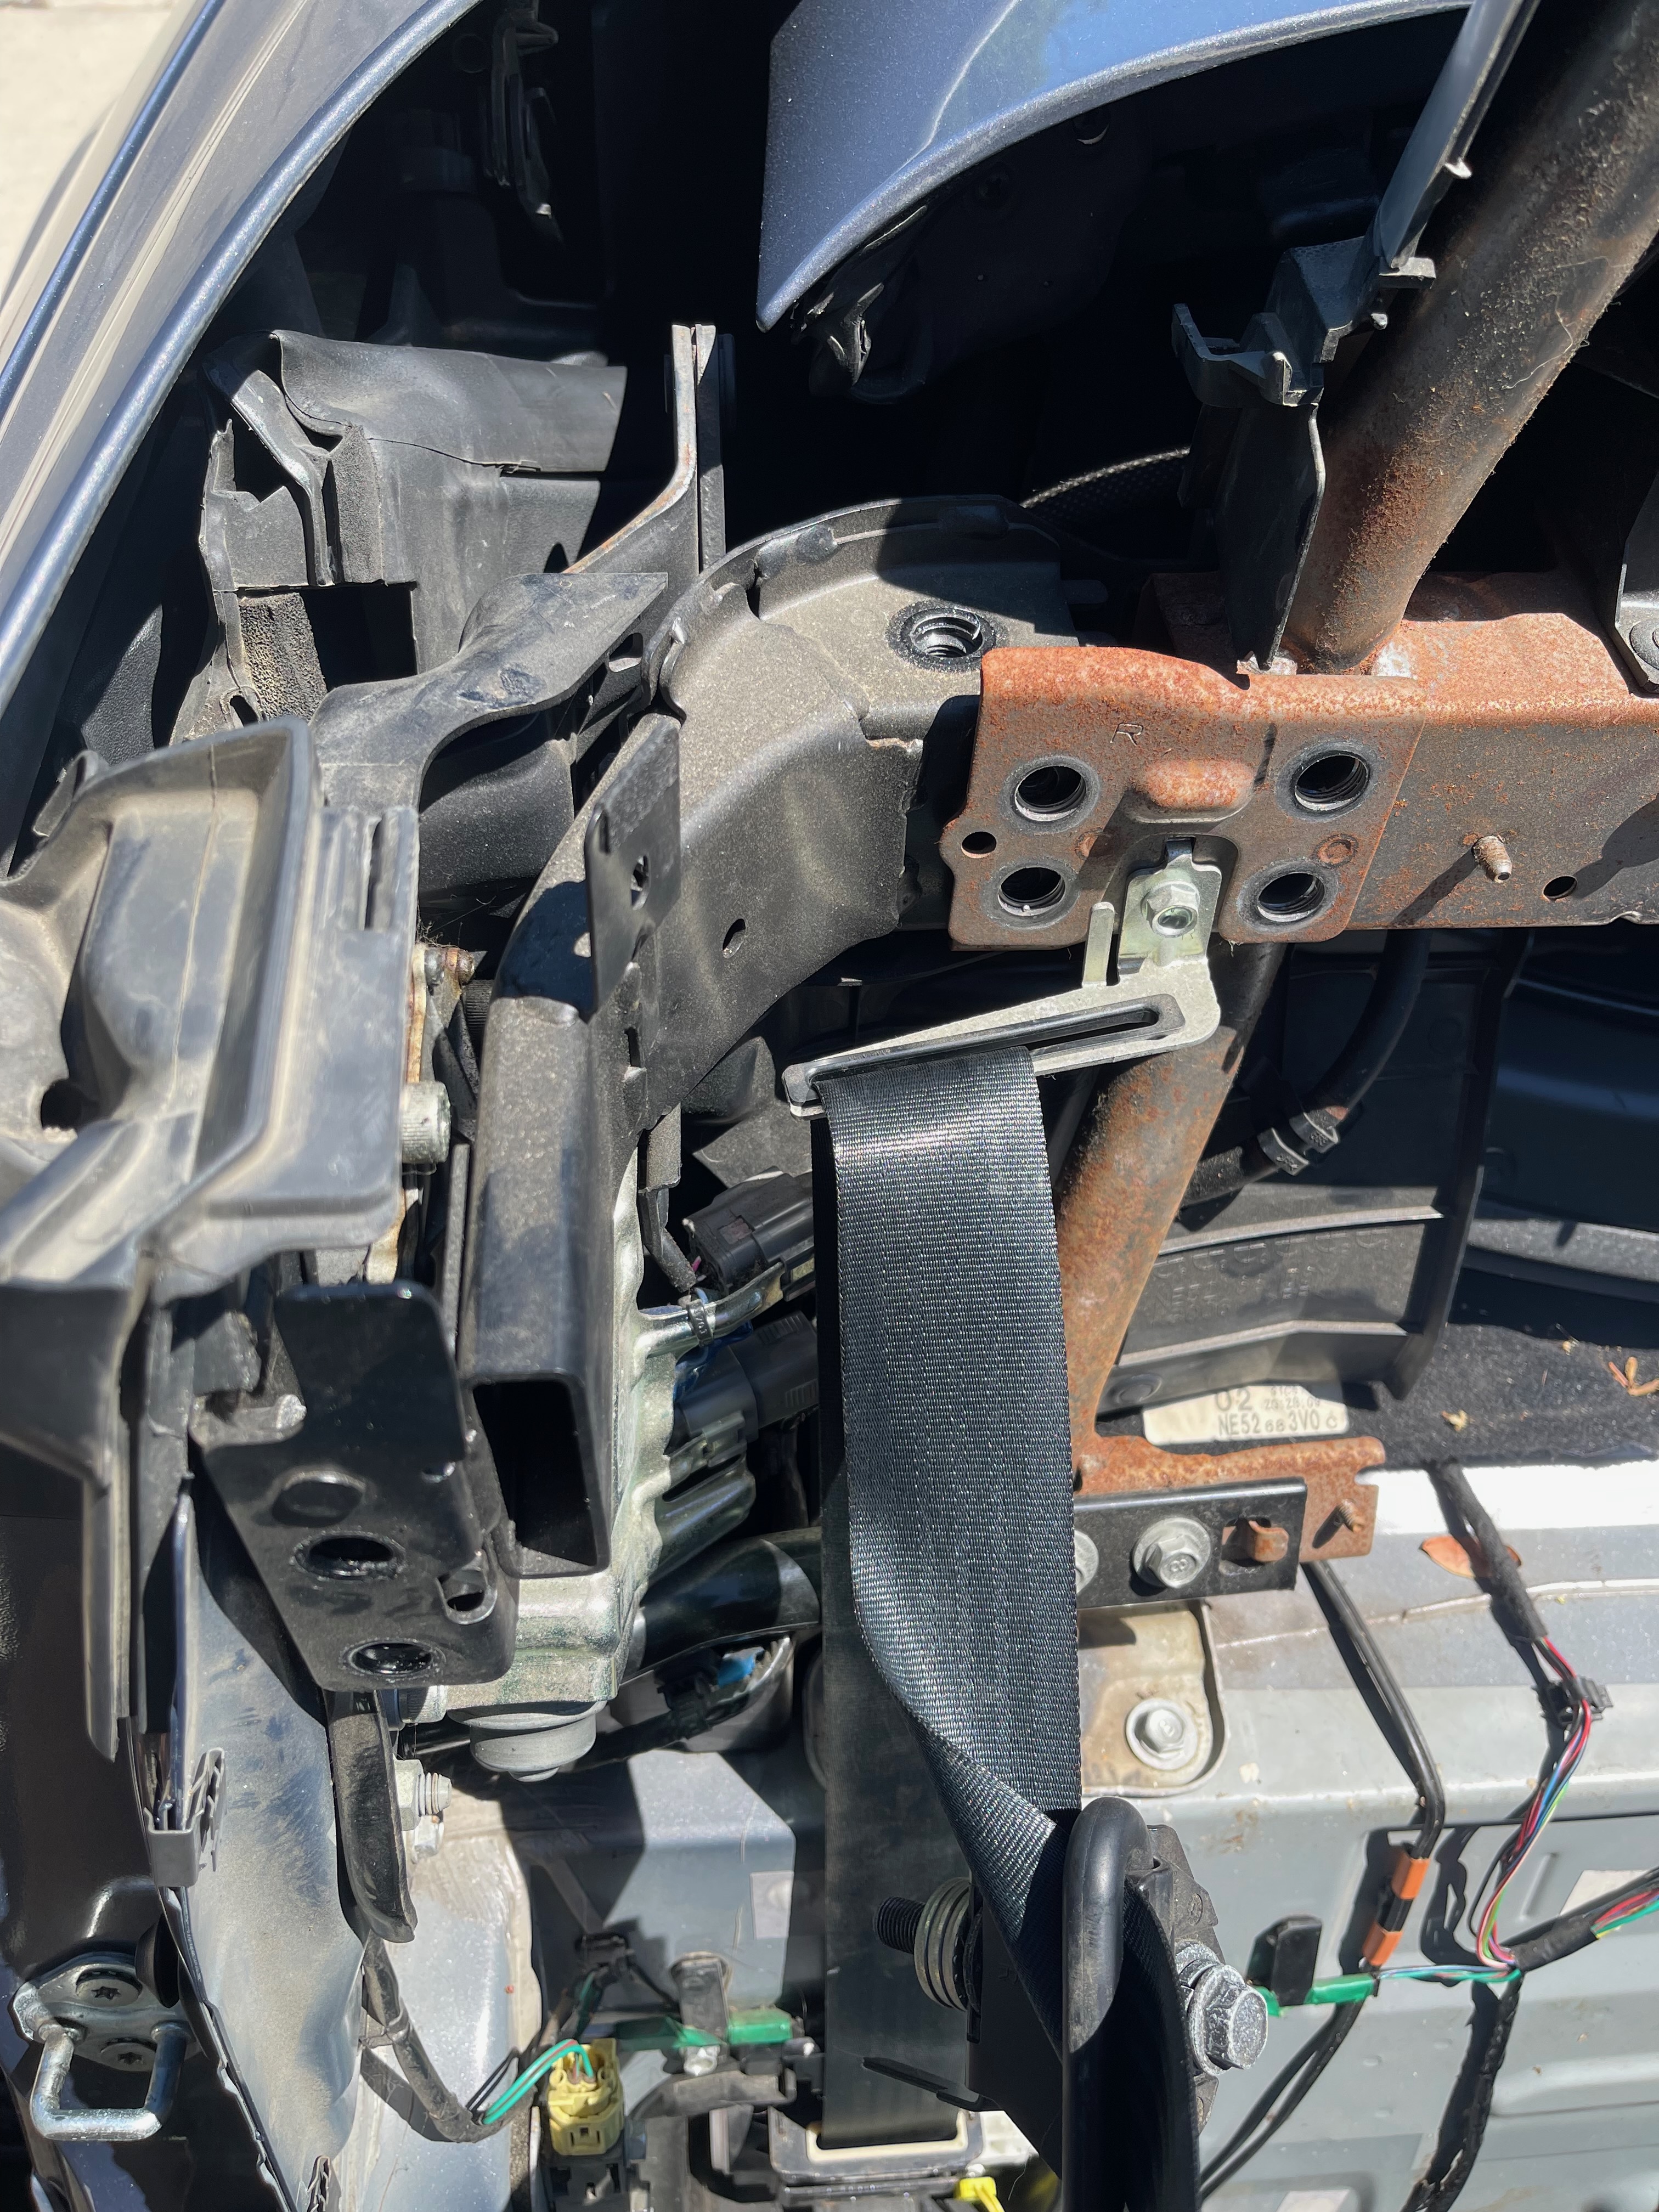
Unfortunately, merely having access to the PRHT link bracket and removing all the bolts from it does not allow it to be removed. Next to come off is this big steel bracket the shop manual refers to only as "the junction":
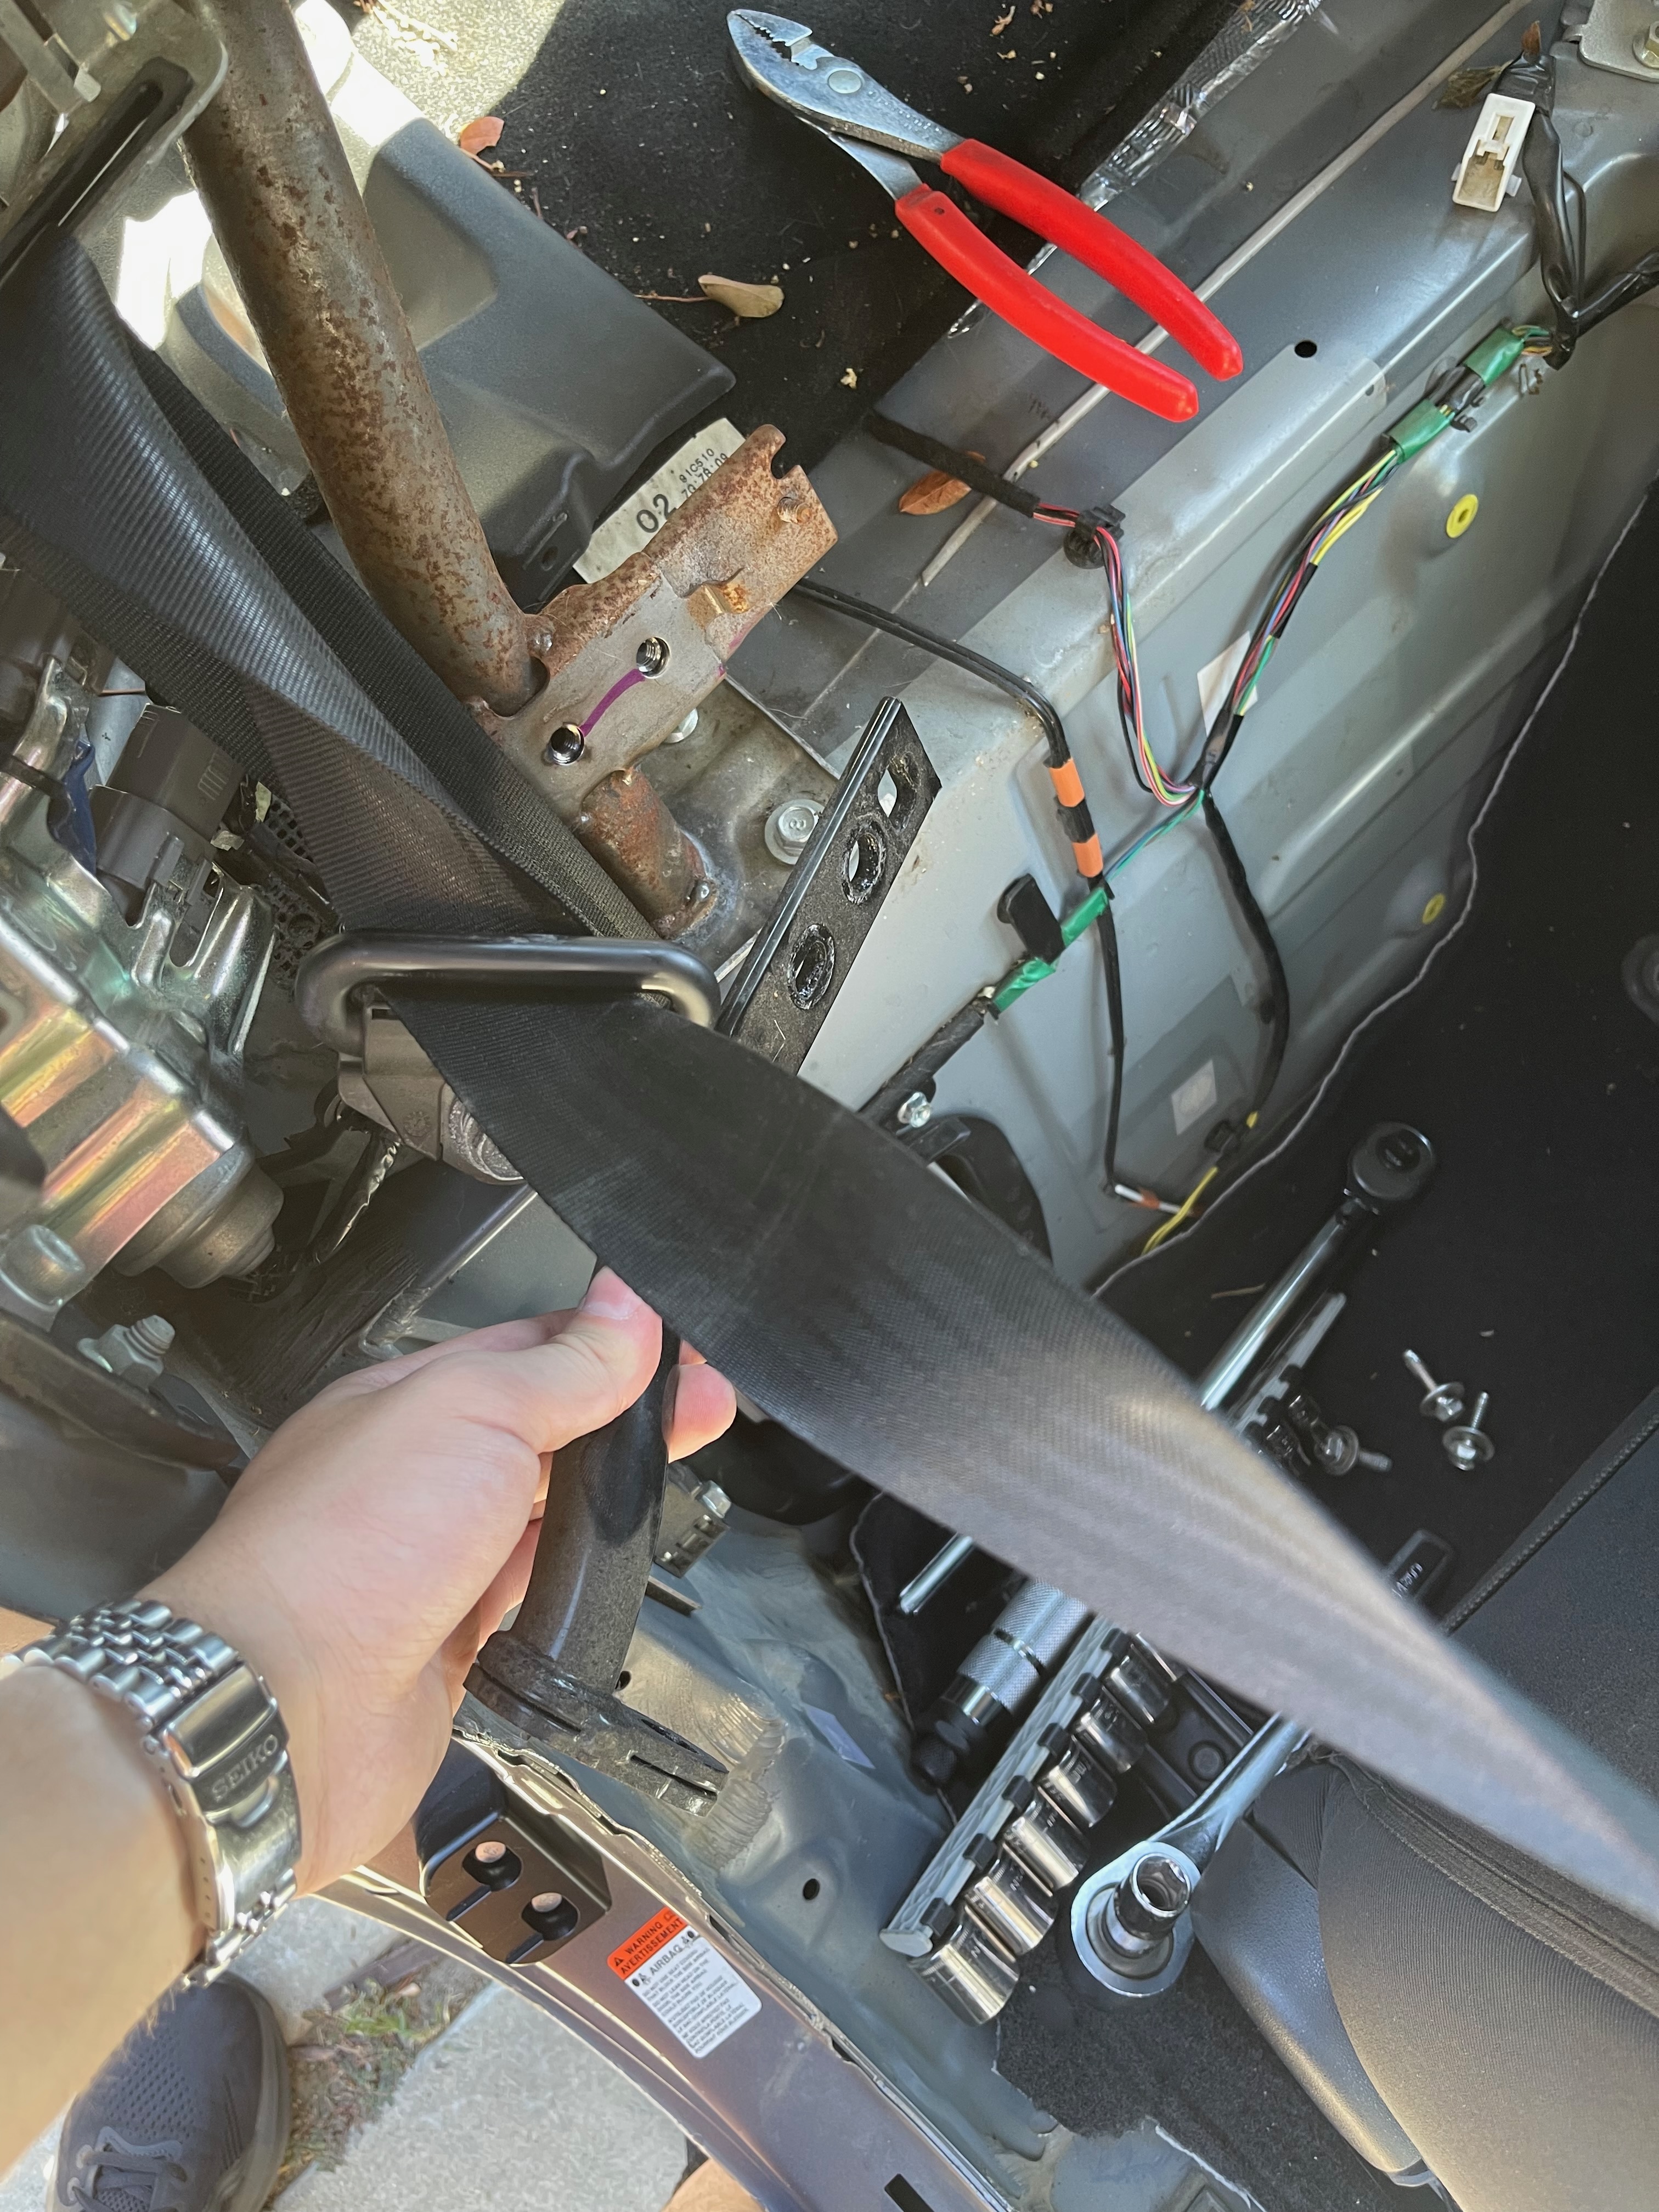
And now I can loosen off all 14 bolts that hold the seat back crossmember in place. I probably should take that out and wire-wheel it at some point. I'm not gonna. But I should.
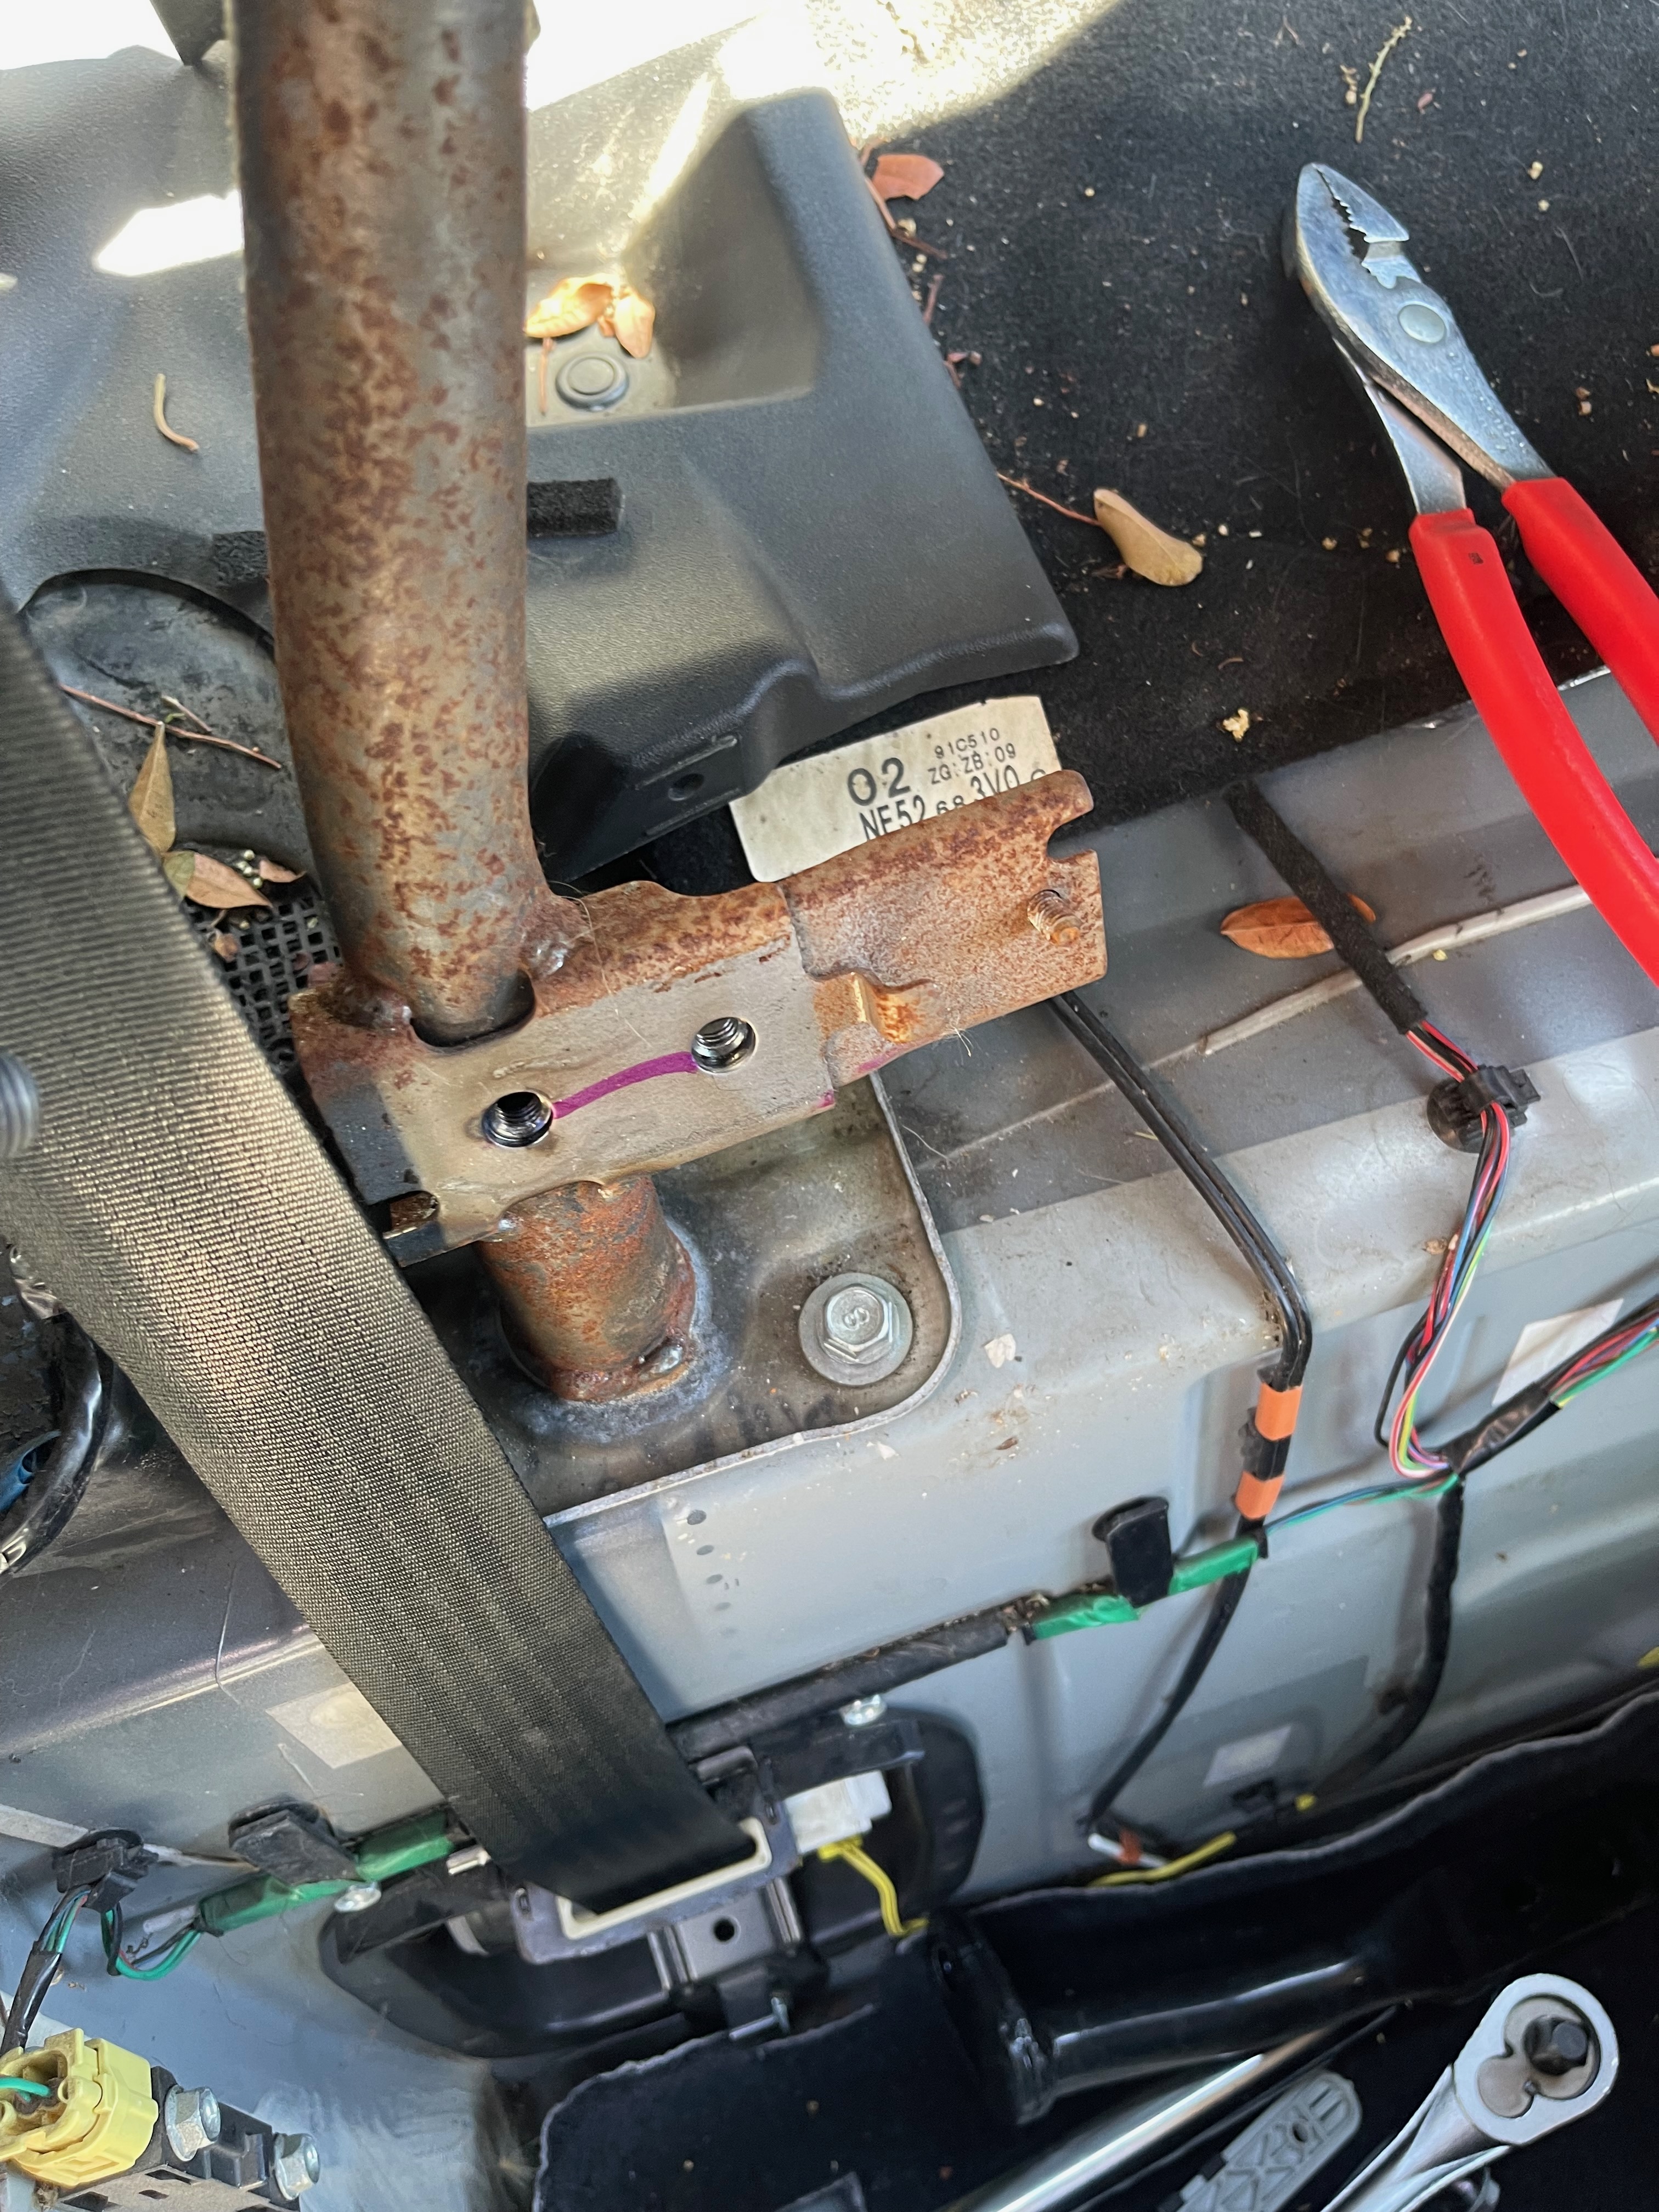
We don't need to remove this completely, but it does have to tilt forward a few degrees to get the link bracket out. Of course, it's rigid enough I have to take out the bolts on the other side too, which is a little more annoying because the roof controller is in the way.
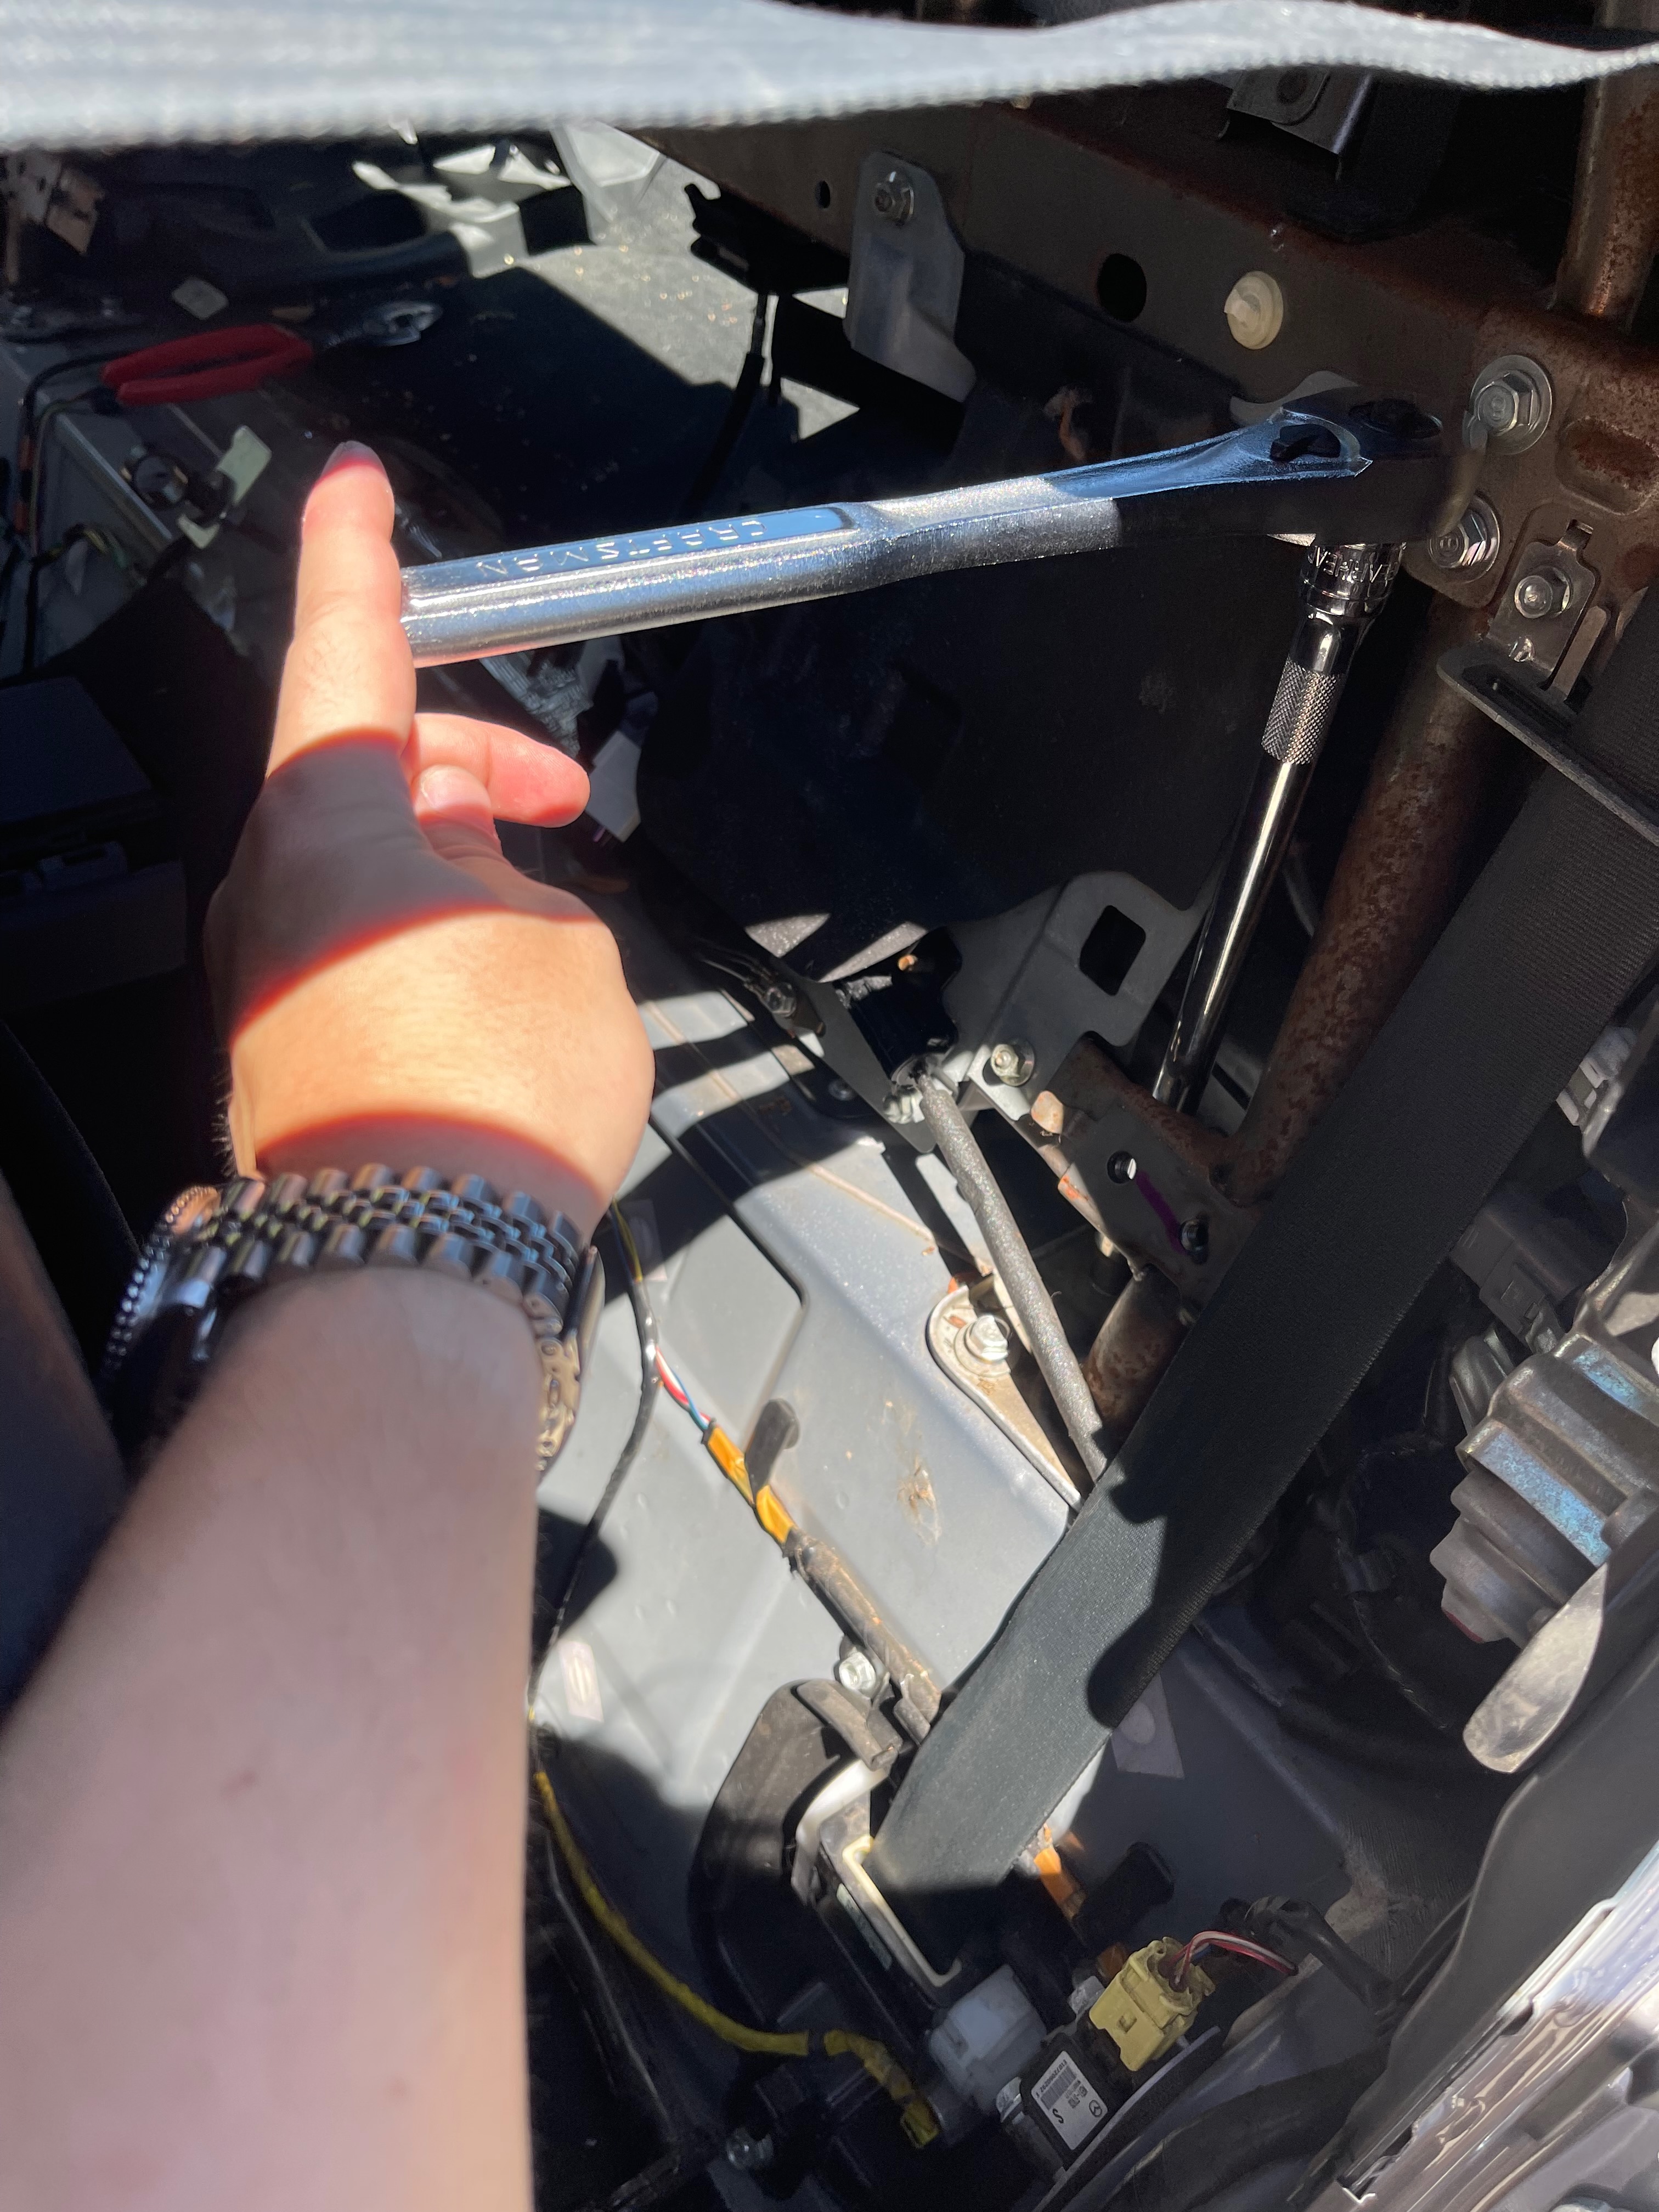
Finally, the link bracket can be removed, and I can get the motor out and onto the bench.
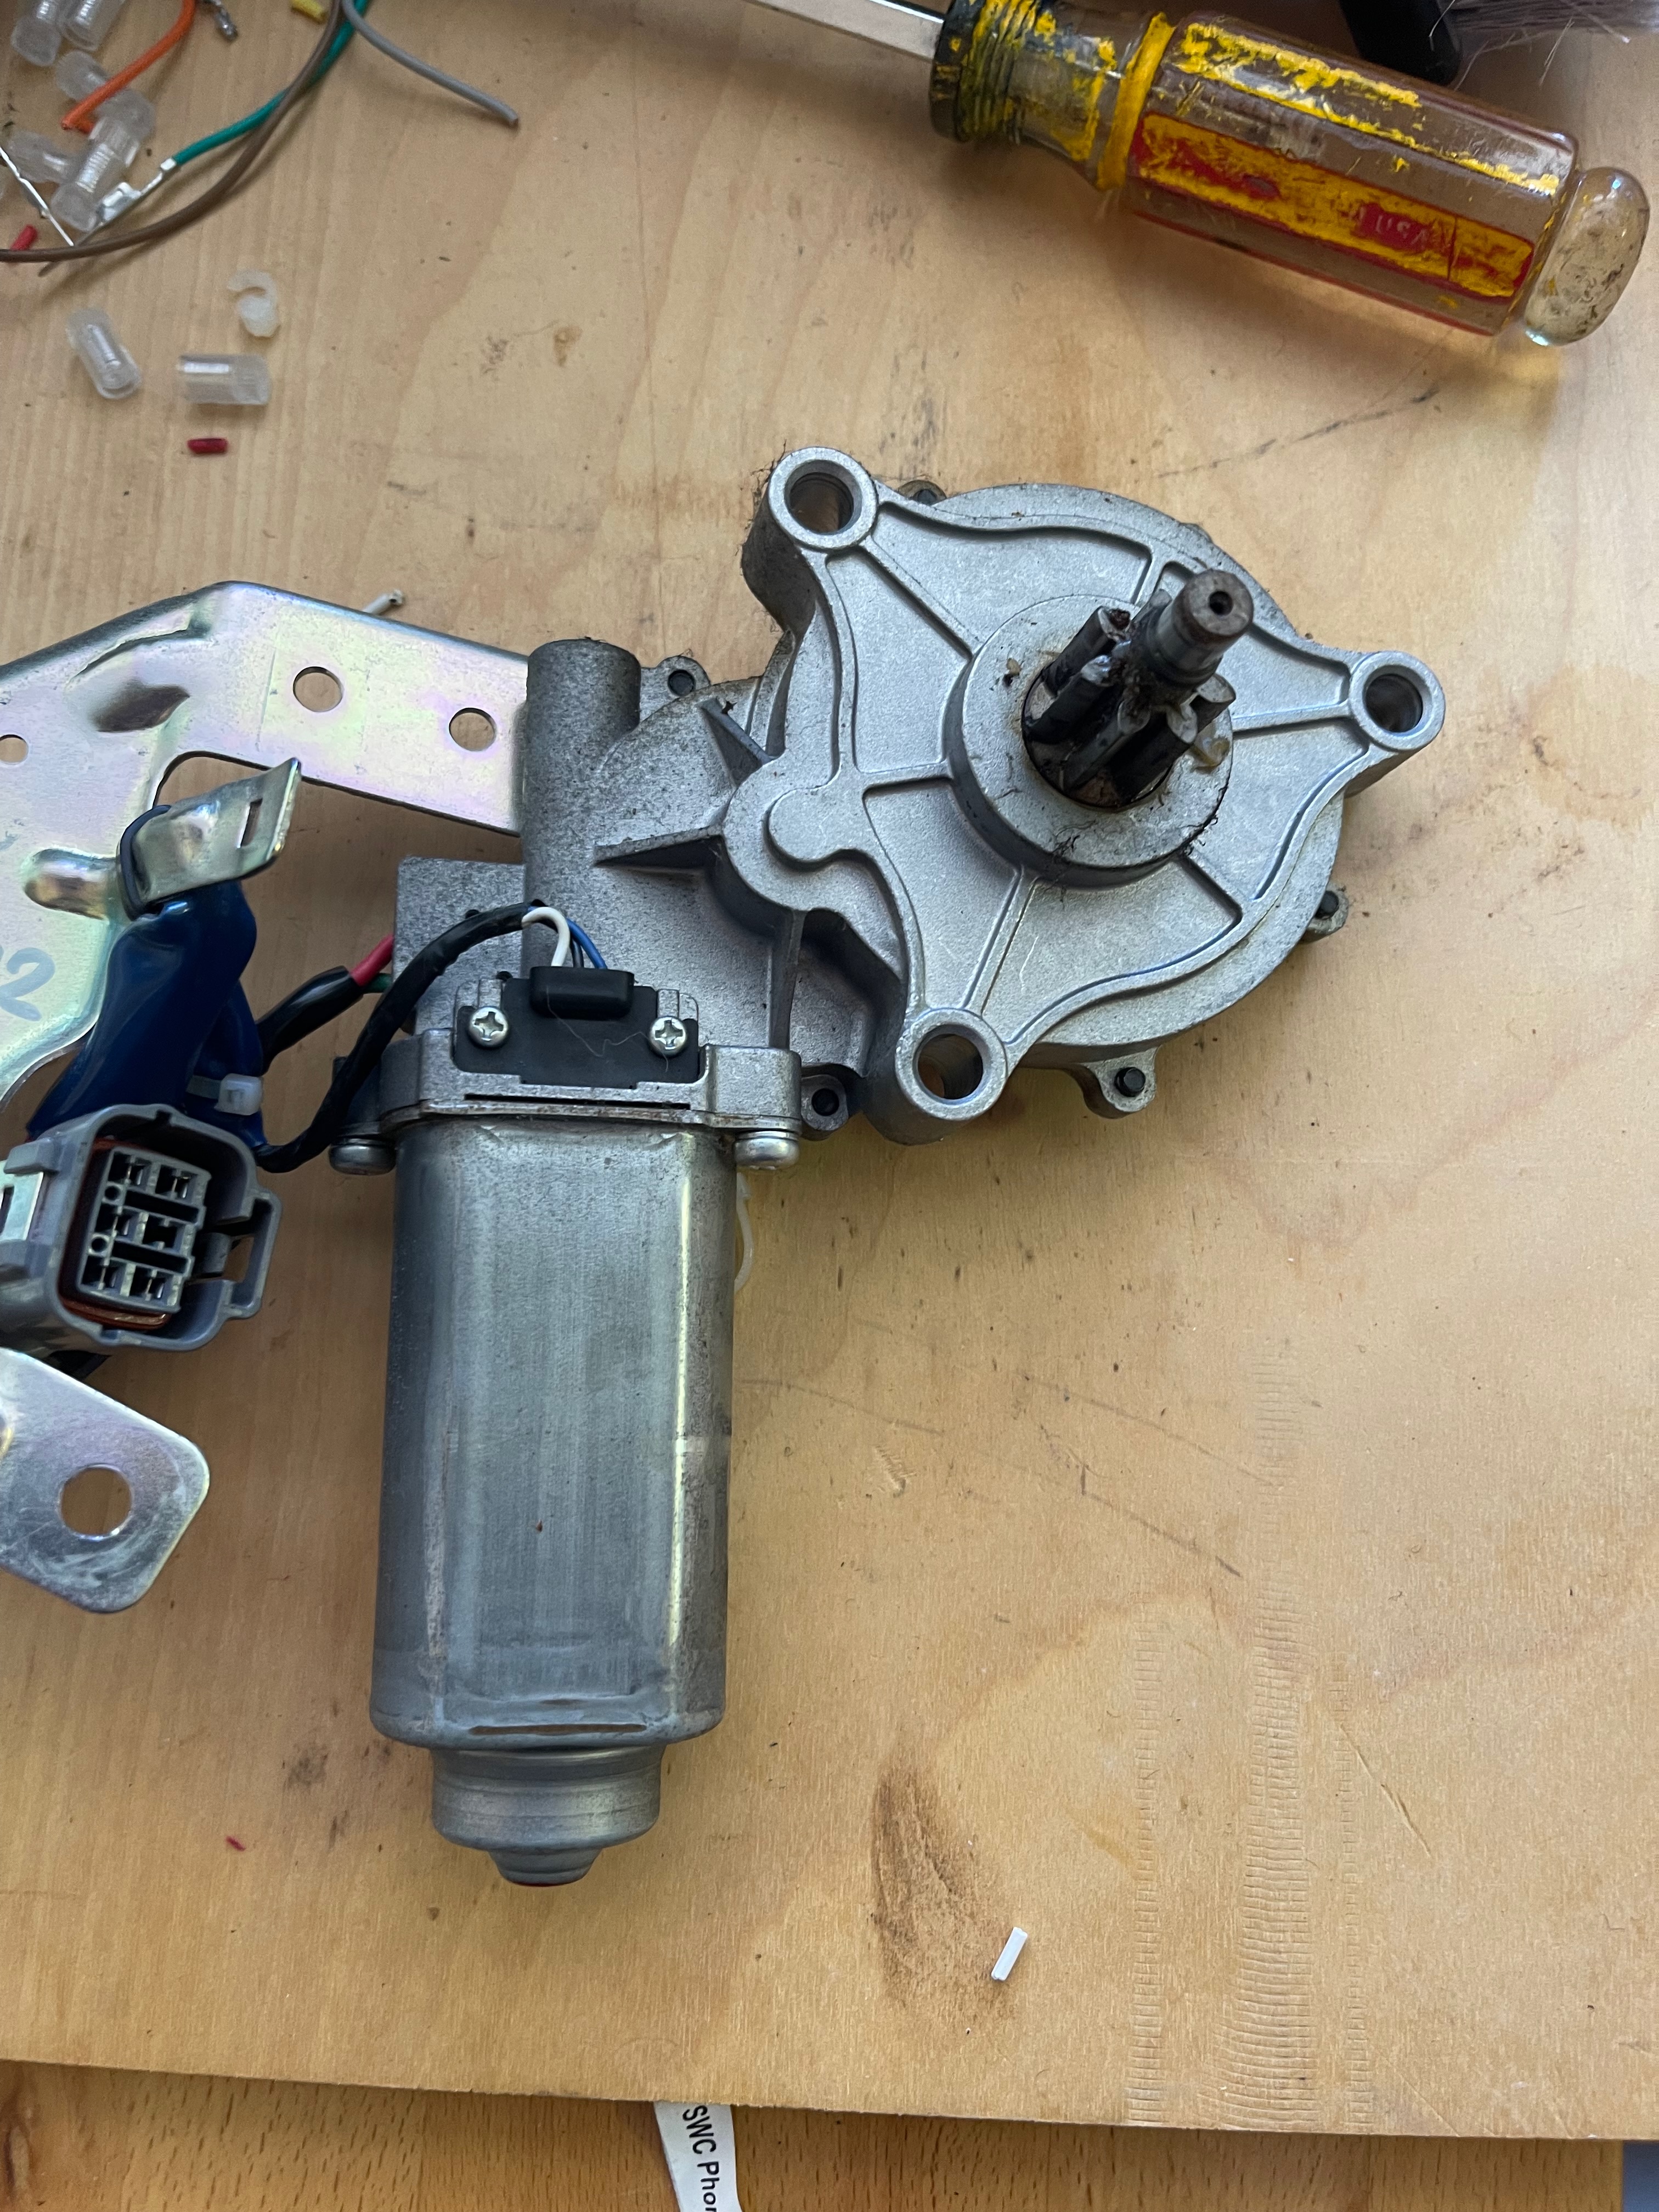
This is basically a big window motor. Permanent magnet DC motor on the bottom, Hall effect sensor in the middle, and then a worm gear into a 2-stage reduction gearbox driving the output pinion, which interfaces directly with a sector gear on the roof linkages. Let's pop that open and have a look.
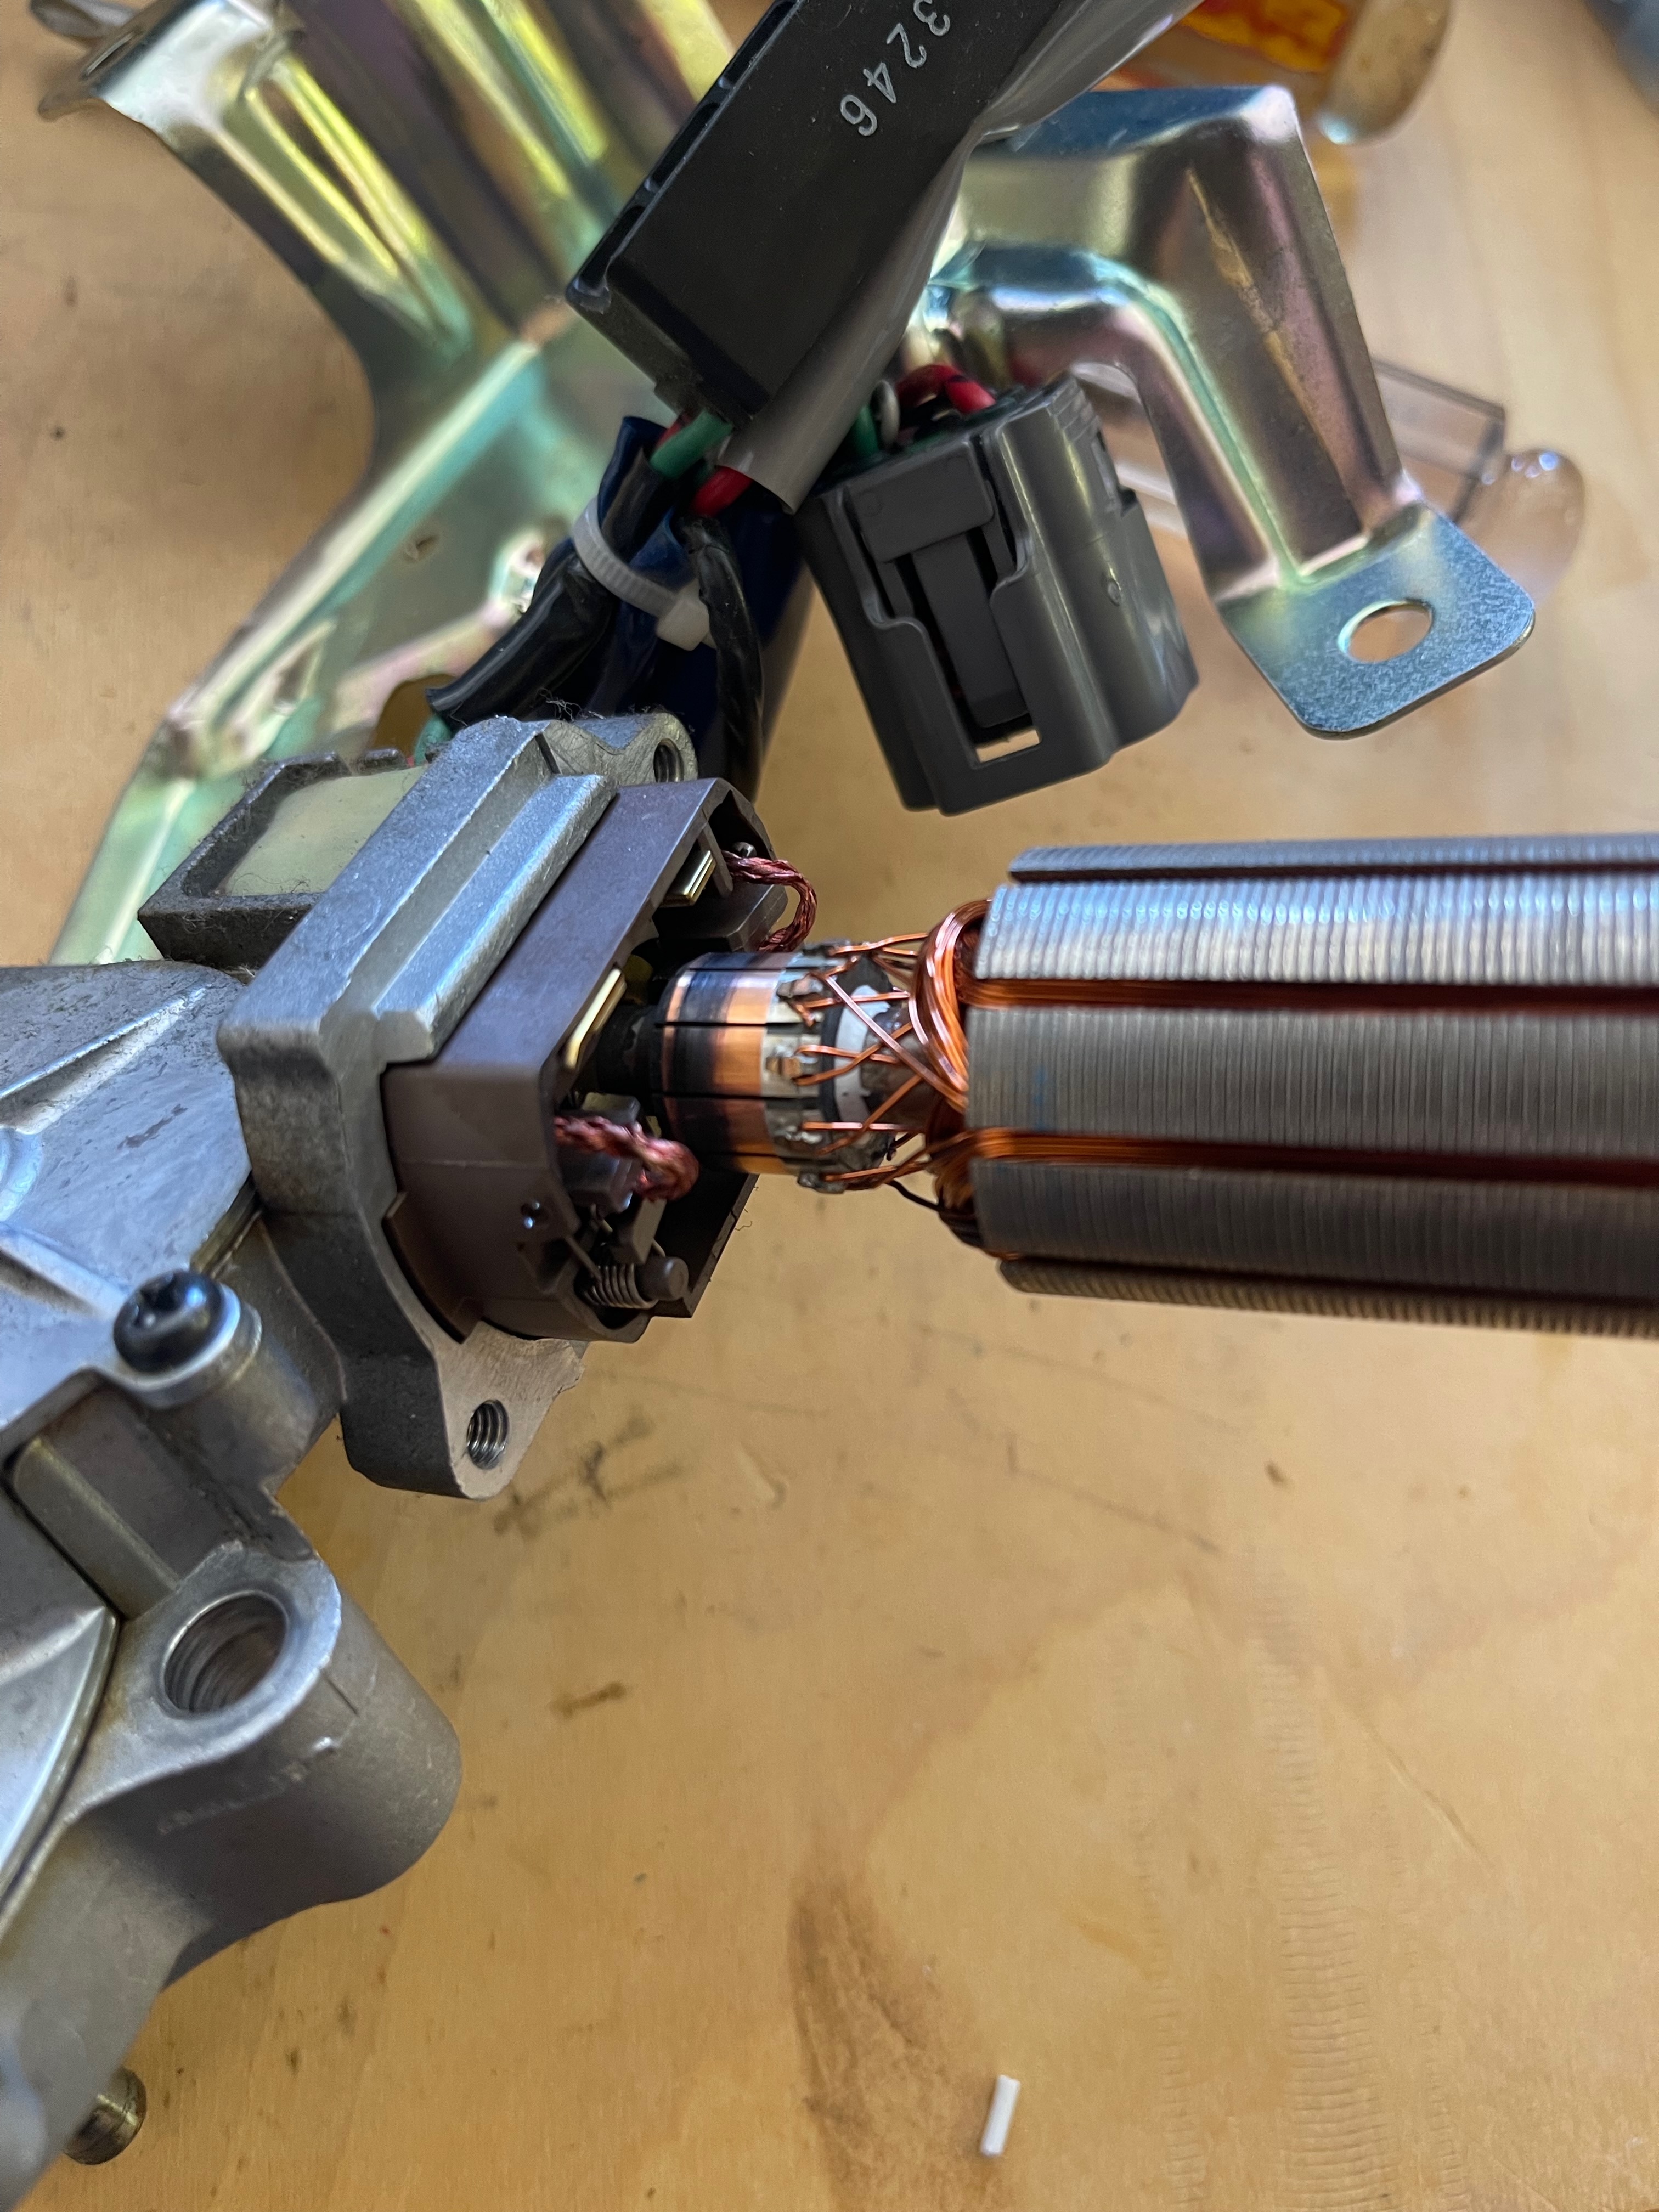
Yep, that's looking pretty worn. Not horrible. Continuity checks out around the motor, so I'll just give it a touch-up, re-grease the back bearing while I've got it apart, put it back together, and see what happens.
This is basically where stuff started going wrong. Reassembling permanent magnet motors often sucks, and this was no different. The big problem at first was a small steel ball bearing that handles axial loads on the back bearing that kept sticking itself to the magnets. I thought I was going to have to make some kind of jig to put it in, and then I had a great idea:
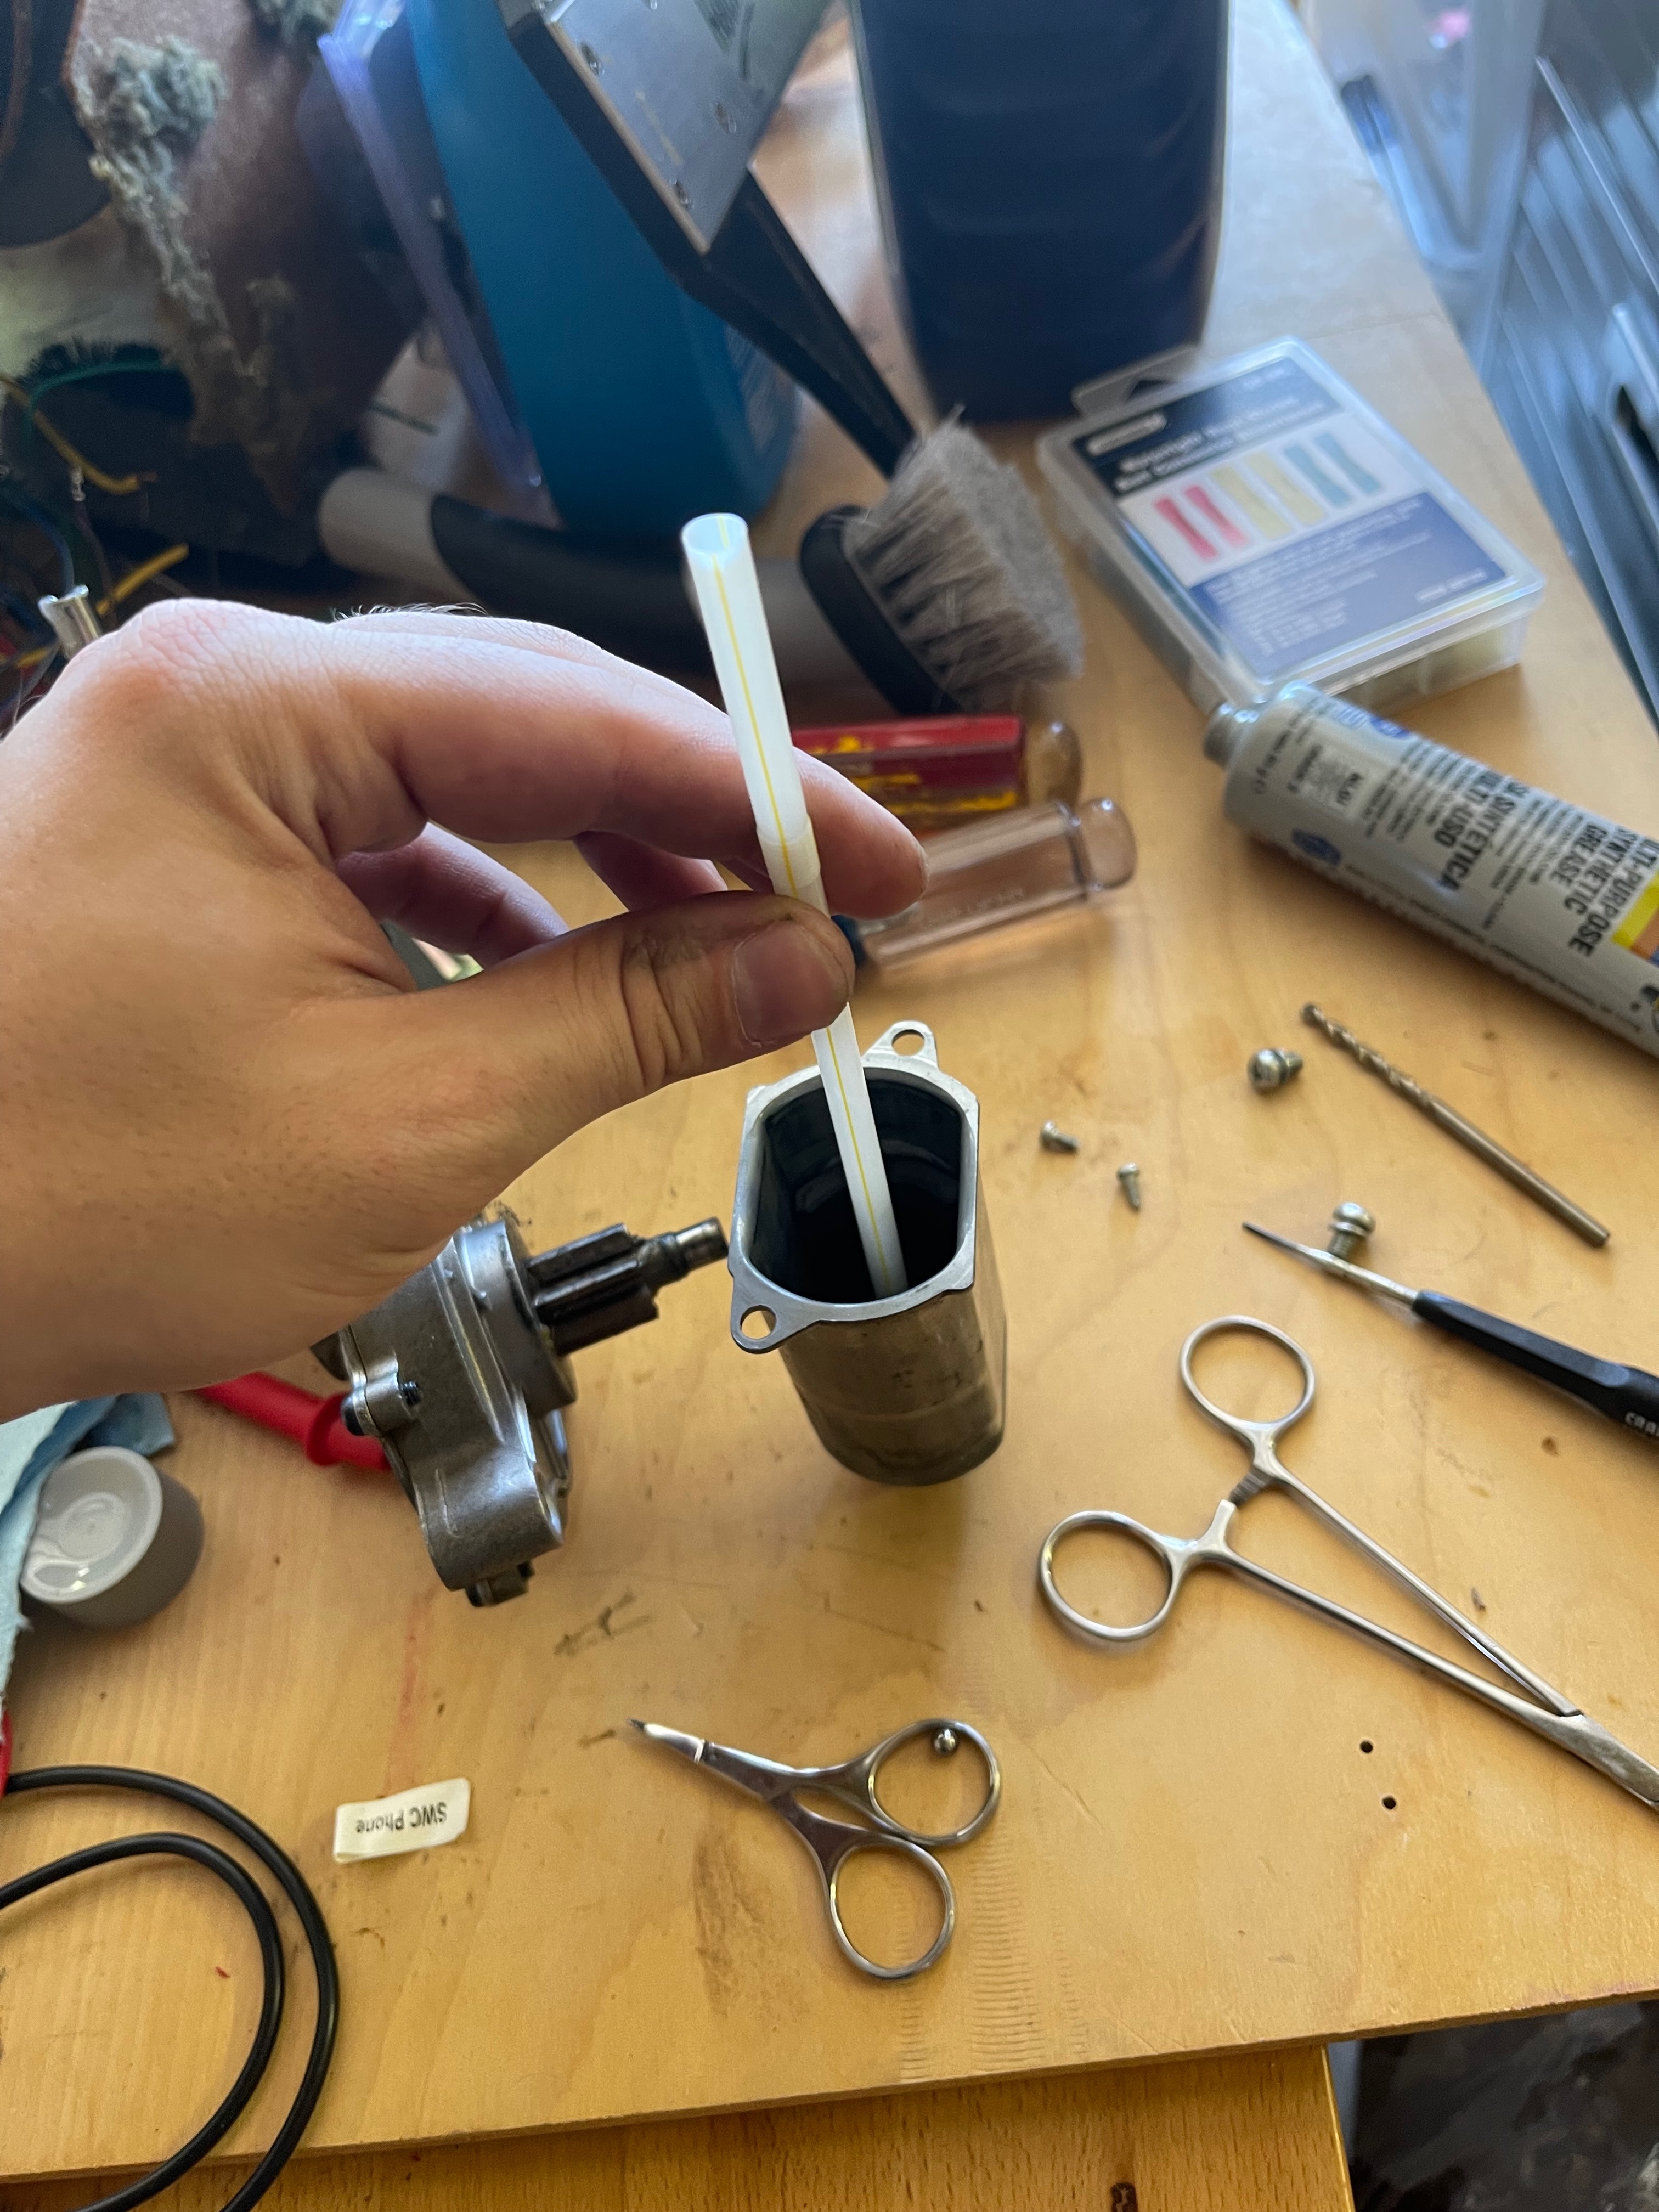
This worked great, so I could then move on to getting the rotor and gearbox assembly back in place. Just gotta flip it upside down over the housing and-
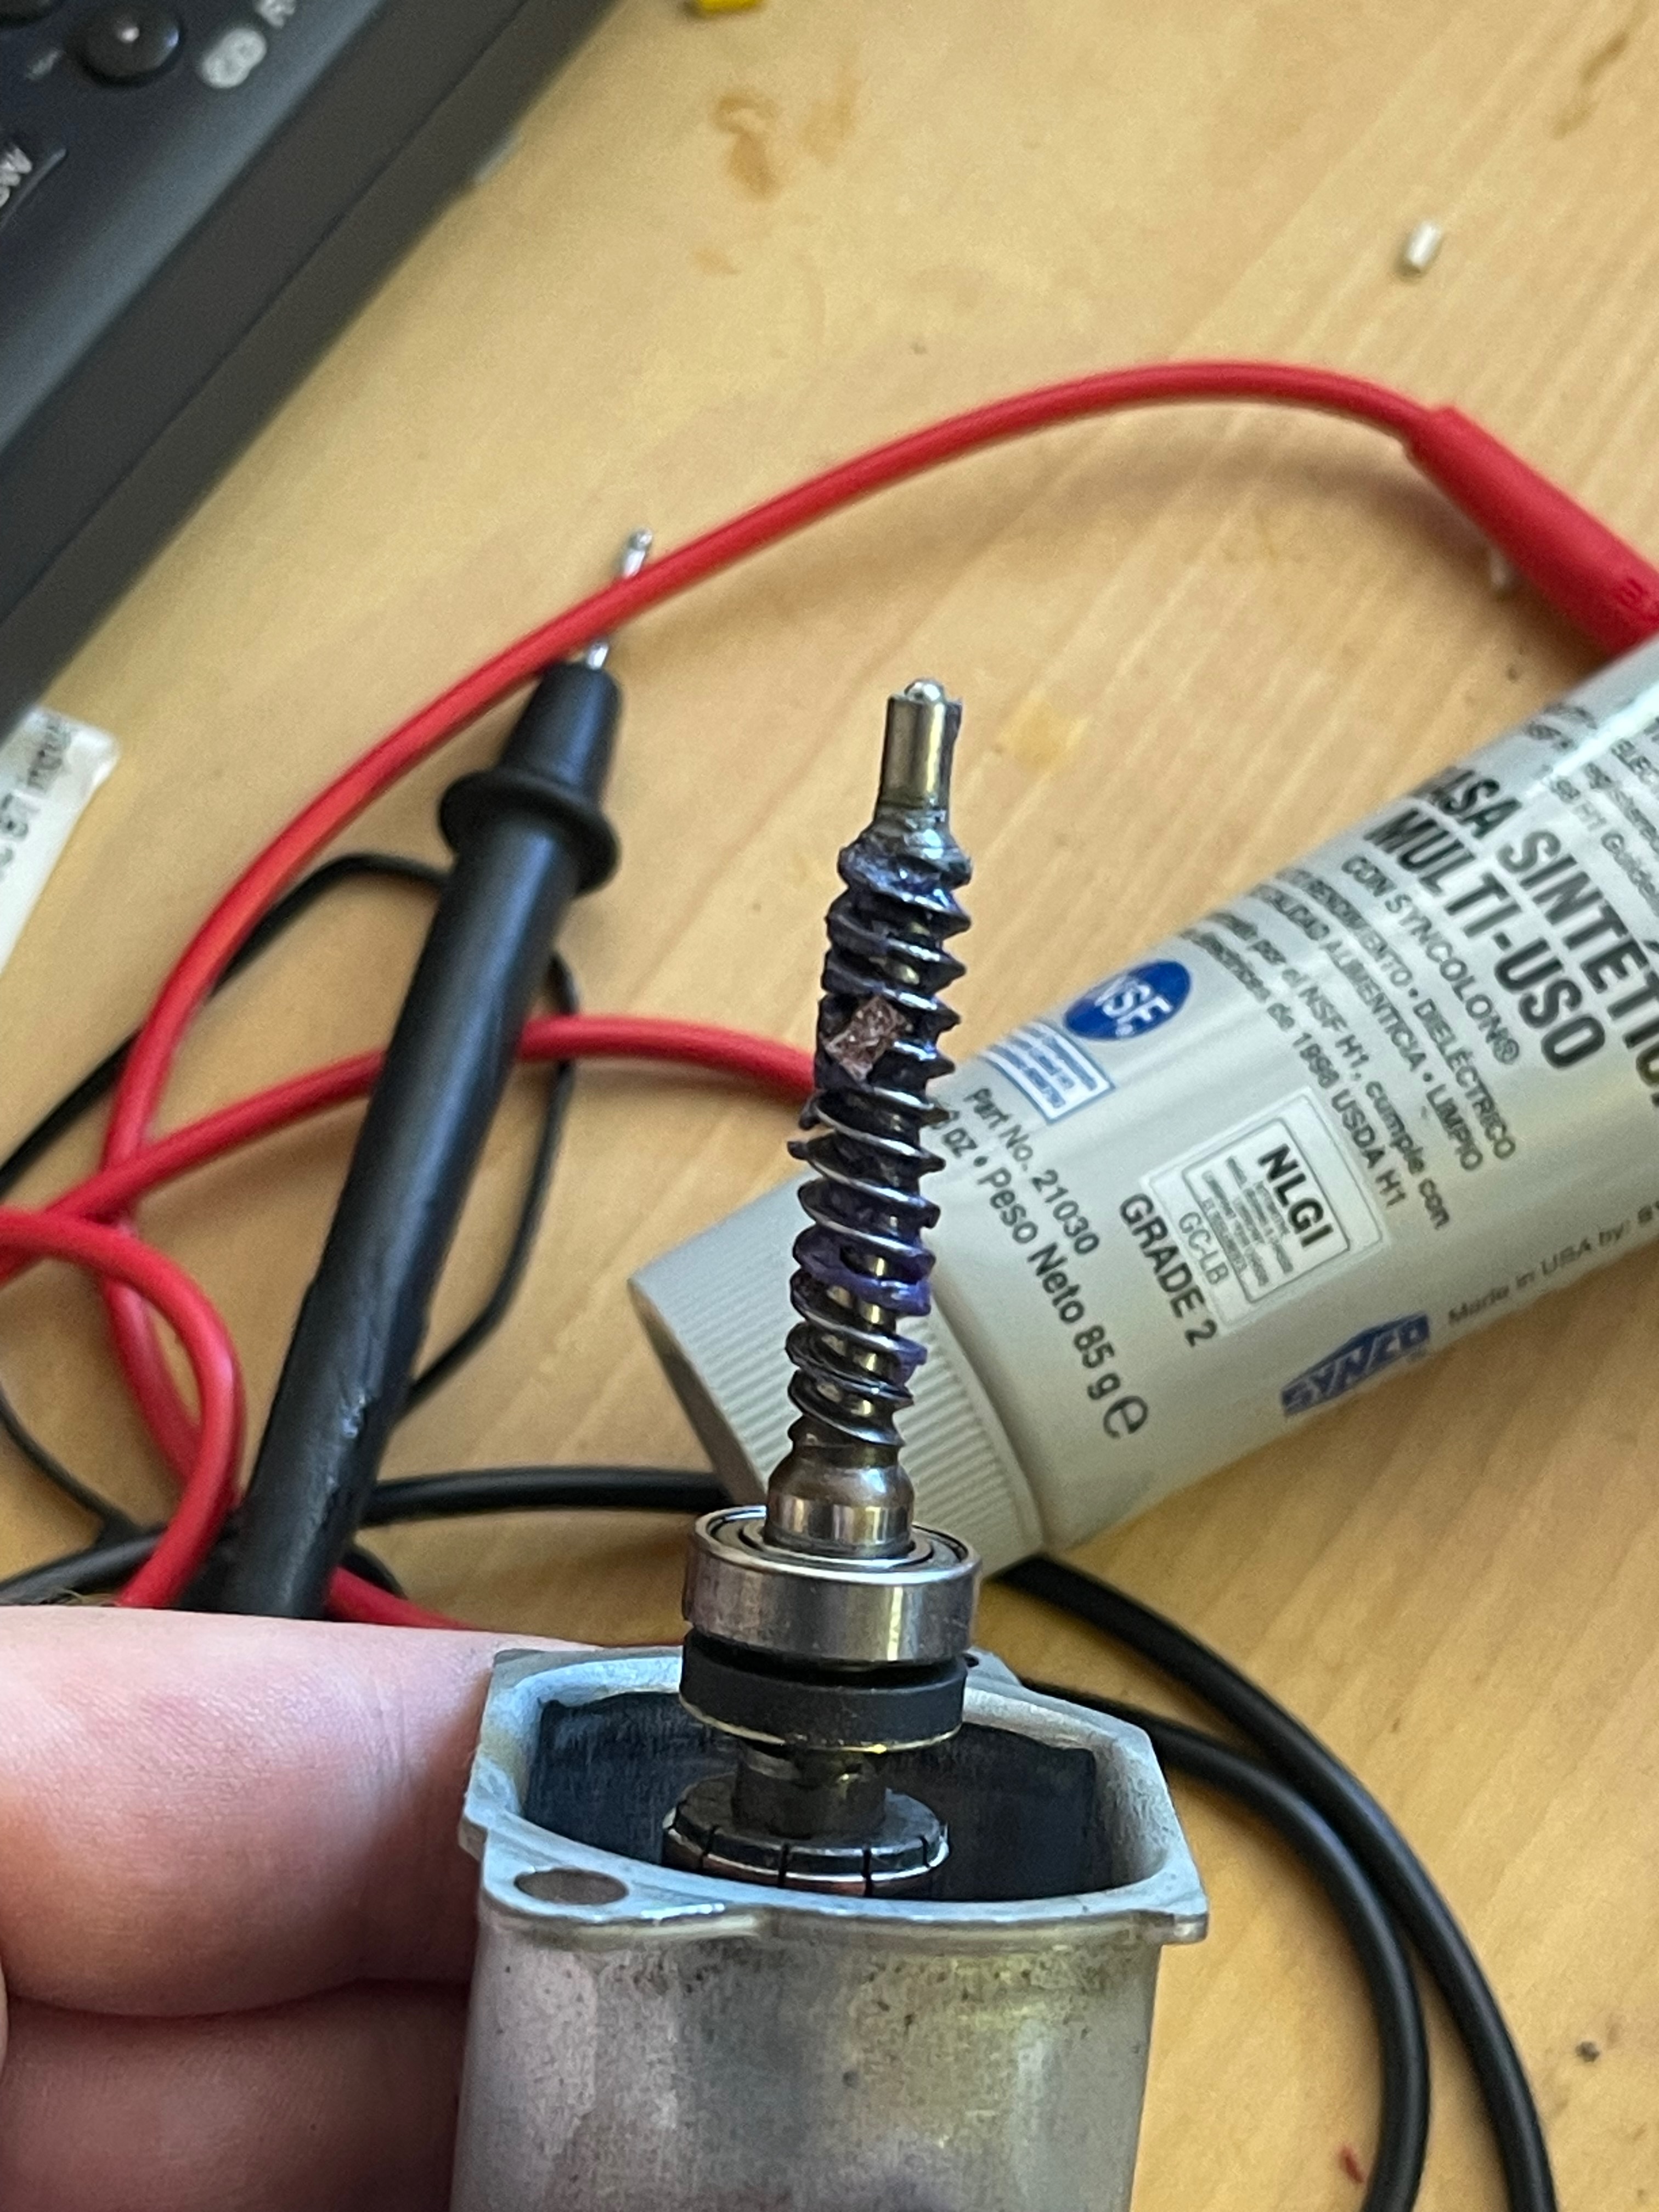
It's dead, Jim. The magnets pulled the rotor out of the housing with enough force to shear the brushes off. Never seen that before. Well, if the commutator wasn't faulty before, it definitely is now.
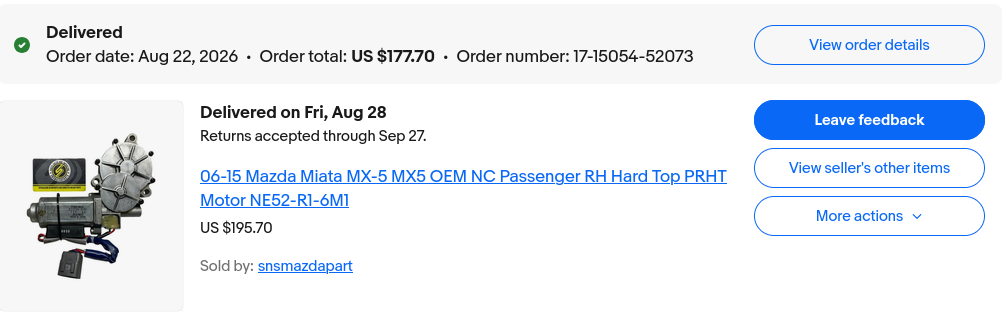
No, I haven't installed it yet. Weather has been uncooperative. Hopefully I can get that done before Monday when I've got another long drive.
So that's frustrating. Obviously I would have liked to fix this without spending $180, but at least I'm confident a new roof motor should fix the problem. That's the nice part about trying to repair parts on the bench: it's always positive expected value over replacing the part, because worst case is you don't fix it and you have to replace the part anyways. I guess the right move would have been to get the rotor out entirely, drop it into the housing, and then figure out how to get the brushes around the worm gear, bearings, and Hall effect ring, with the housing in the way, without getting any grease on them... you can see why I was trying to avoid that. Live and learn.
The less nice part is that everything I took out to get to the motor is structural (except for a couple trim pieces) and I'm gonna drive at least 400 miles before the part gets here, so I have to put it all back together with no roof motor. At least it should go faster the second time.
Update from the editing room (since most of this actually happened on Tuesday): I didn't put that big back trim panel back in since it sucks real bad to do that without being able to put the roof down, so now every time I get in the car I go to get my sunglasses out of the storage box and it just isn't there.
I'd like to say you get used to it.